
Restoring Stereoscopic Antiques
written for the stereosite by Pascal Martiné, Germany
Why Restore? Guiding Principles
A lover of antiques also loves the stories they come with and the traces those stories have left – something which we call ‘patina’. We must thus ask the question of why one would even consider restoration, a process which will surely alter an object.
Water stains, cracks, even the loss of parts — are these flaws worthy of restoration? Don’t we have to preserve the artifact as it is, with its history intact? This is certainly a valid arena for debate. For me personally, there are some very good arguments for restoration. However, one should always err on the side of caution. These are applicable to antiques in general, but are particularly relevant when considering stereoscopic antiques:
Firstly, it is usually a goal of mine to restore the functionality of stereoscopes and stereo cameras to a point where they are still usable as intended. This also includes conservation, ensuring that functionality will not be lost in the coming decades.
Secondly, things like dirt or water damage might prevent us from understanding how an object may have looked originally, or how comfortable it may have been to use; in short, how the object would have appeared to its contemporaries. This, in my opinion, is also part of historical research on a particular object.
Inevitably, antiques are only ever available in limited quantities. Their current owners might not always consider them to be worth preserving, although the Internet now makes it easy to get background information and estimate the demand for objects. Nevertheless, a stereoscope or stereo camera that is in poor condition is less likely to find a buyer, and might therefore permanently disappear. In addition to a measureable increase in value, a restoration is often the last resort in saving an object that has already survived destruction for a century or more.
I have already mentioned that the patina of an antique is a considerable attraction, and it is desirable in any case that the age of an antique remains obvious to the observer. When I restore a stereoscope or stereo camera, I am not trying to give the impression that it is a modern product. It is also not my intent to improve its performance from how it was originally constructed, even if later models from the same manufacturer did exactly that.
When considering restoration, I always ask myself one very simple question: What would this stereoscope look like today if it had never disappeared from its owner’s living room, but had been cherished and cared for continuously for over 100 years?

Disassembly and Reassembly
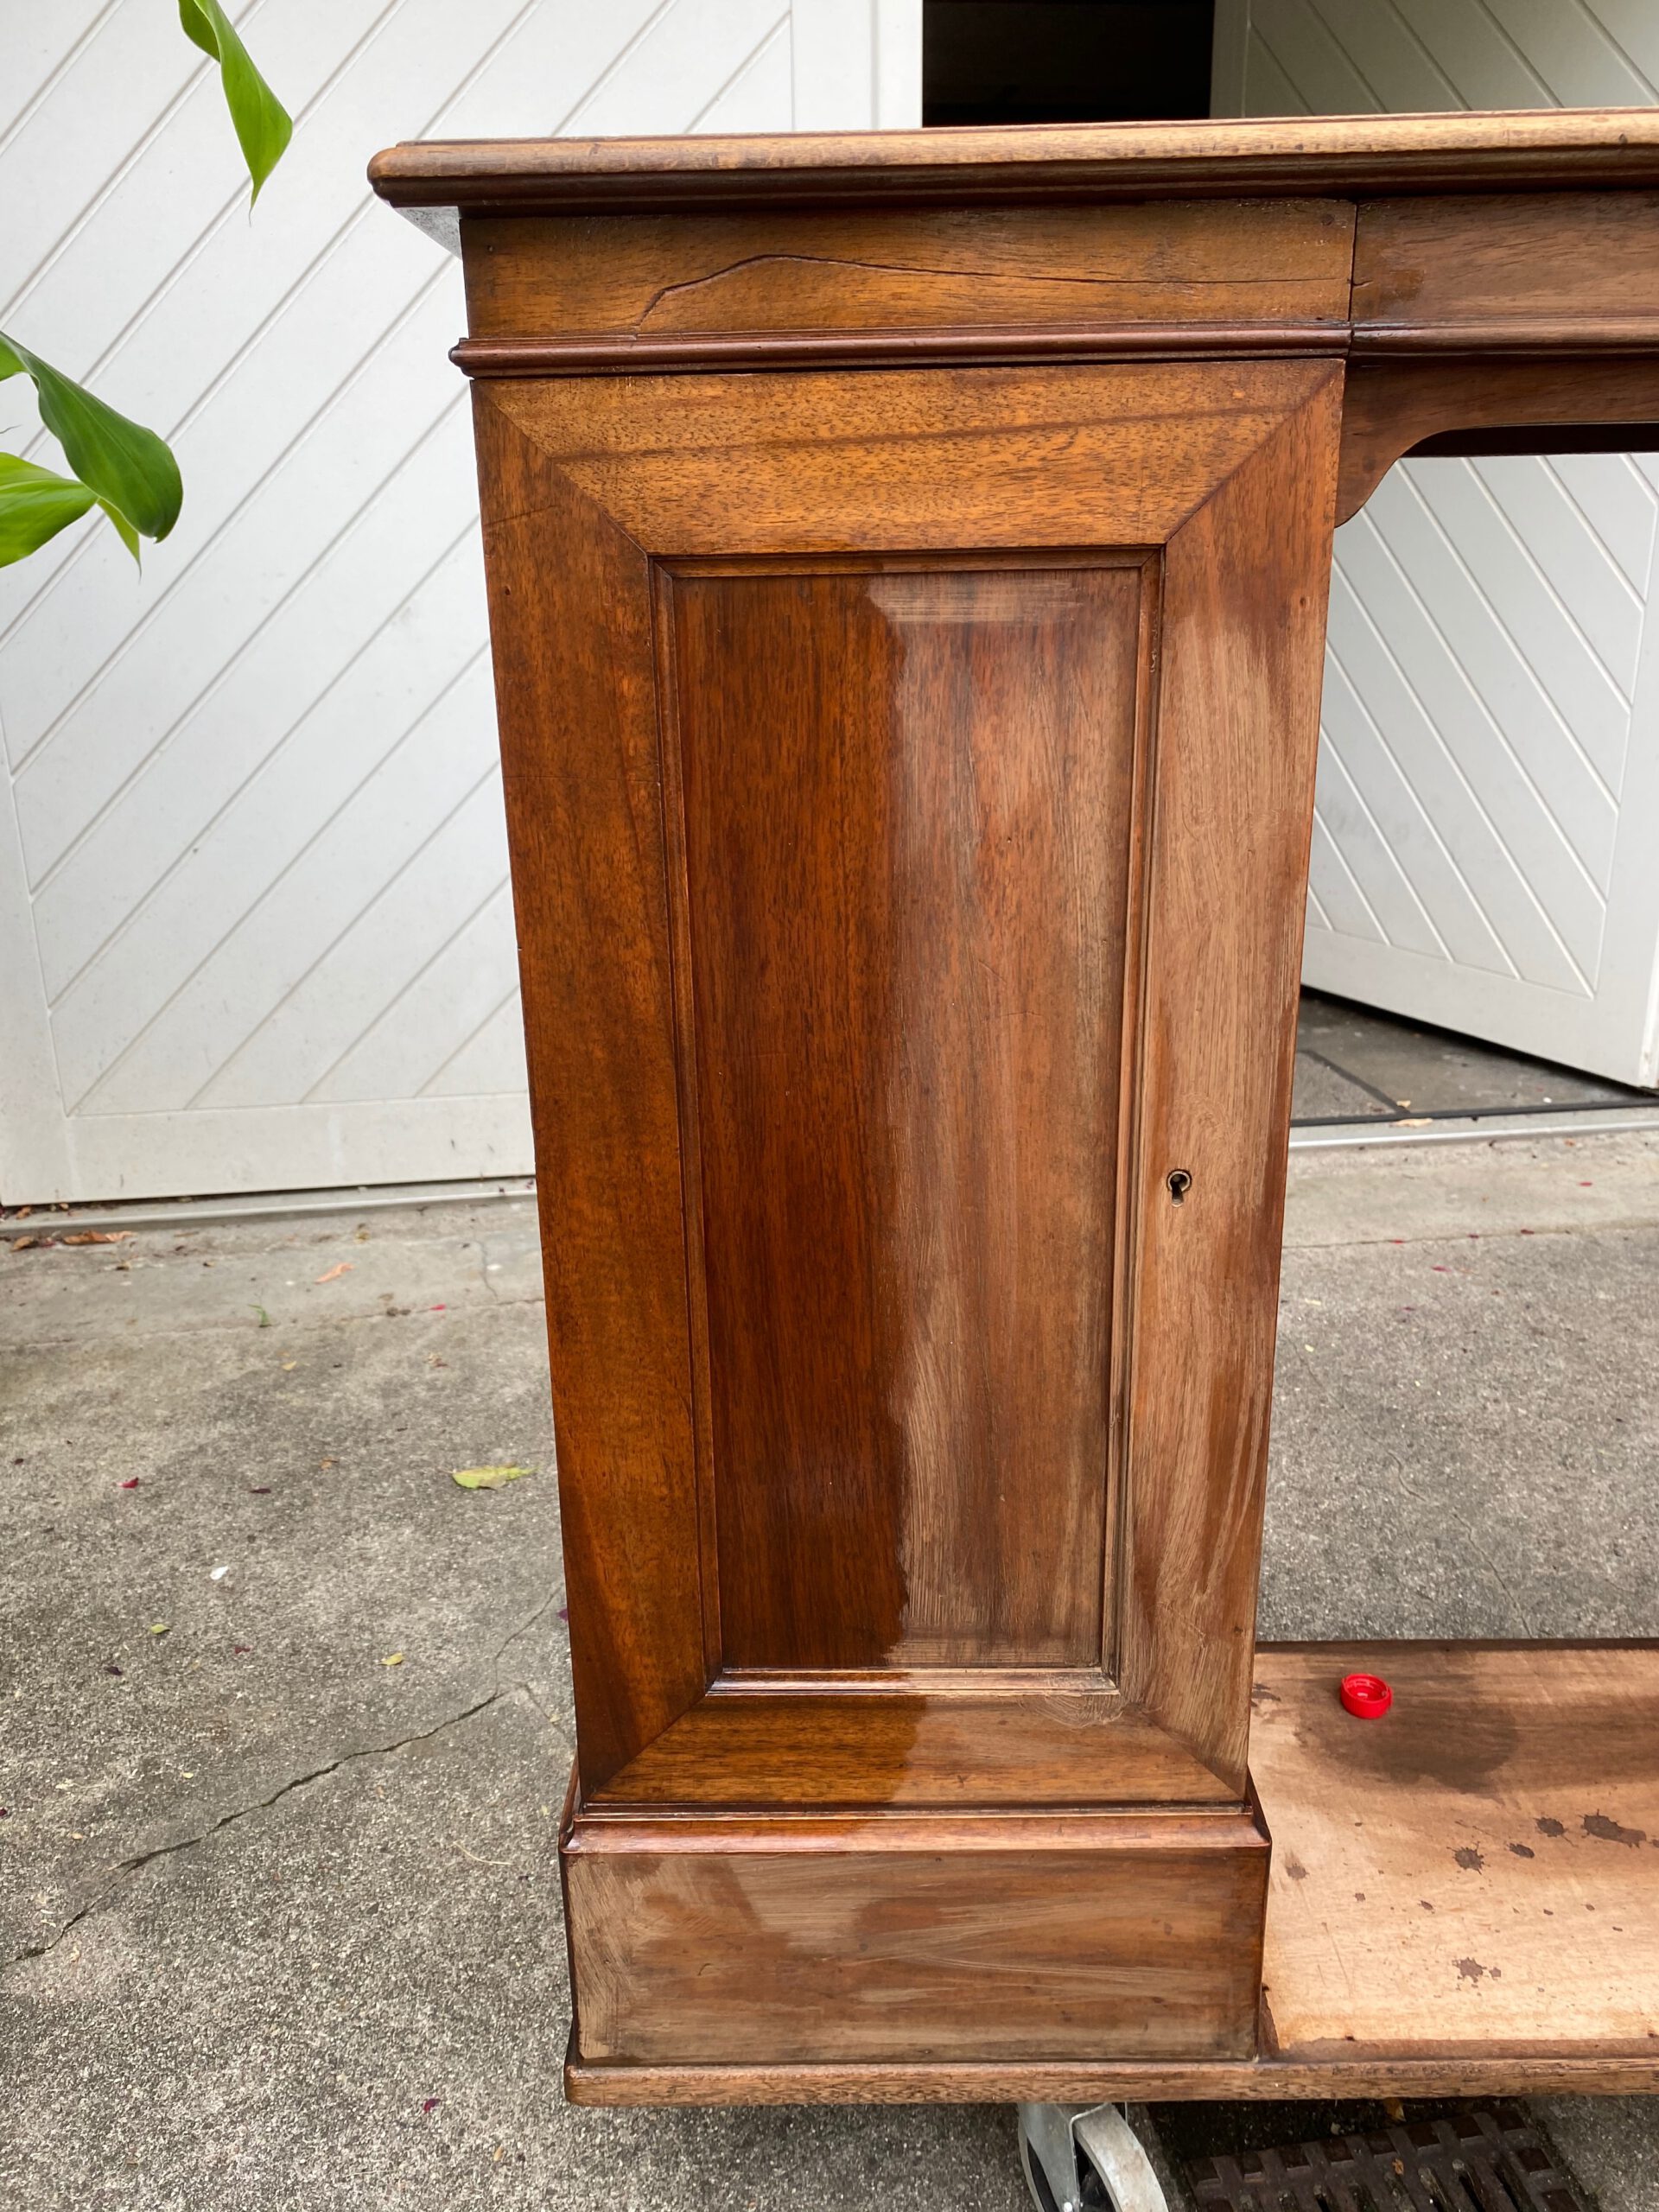
Looking at an old stereoscope, it is easy to see that the moving parts are worn, and that freely accessible surfaces show abrasion. This is usually the result of normal use and superficial cleaning. Stubborn dirt is mainly found in corners and cracks, or behind levers, cranks, knobs, or the oculars. Normal use mainly leaves behind dust and bodily fluids, such as sweat, which has hardened from decades of storage in damp and poorly ventilated rooms.
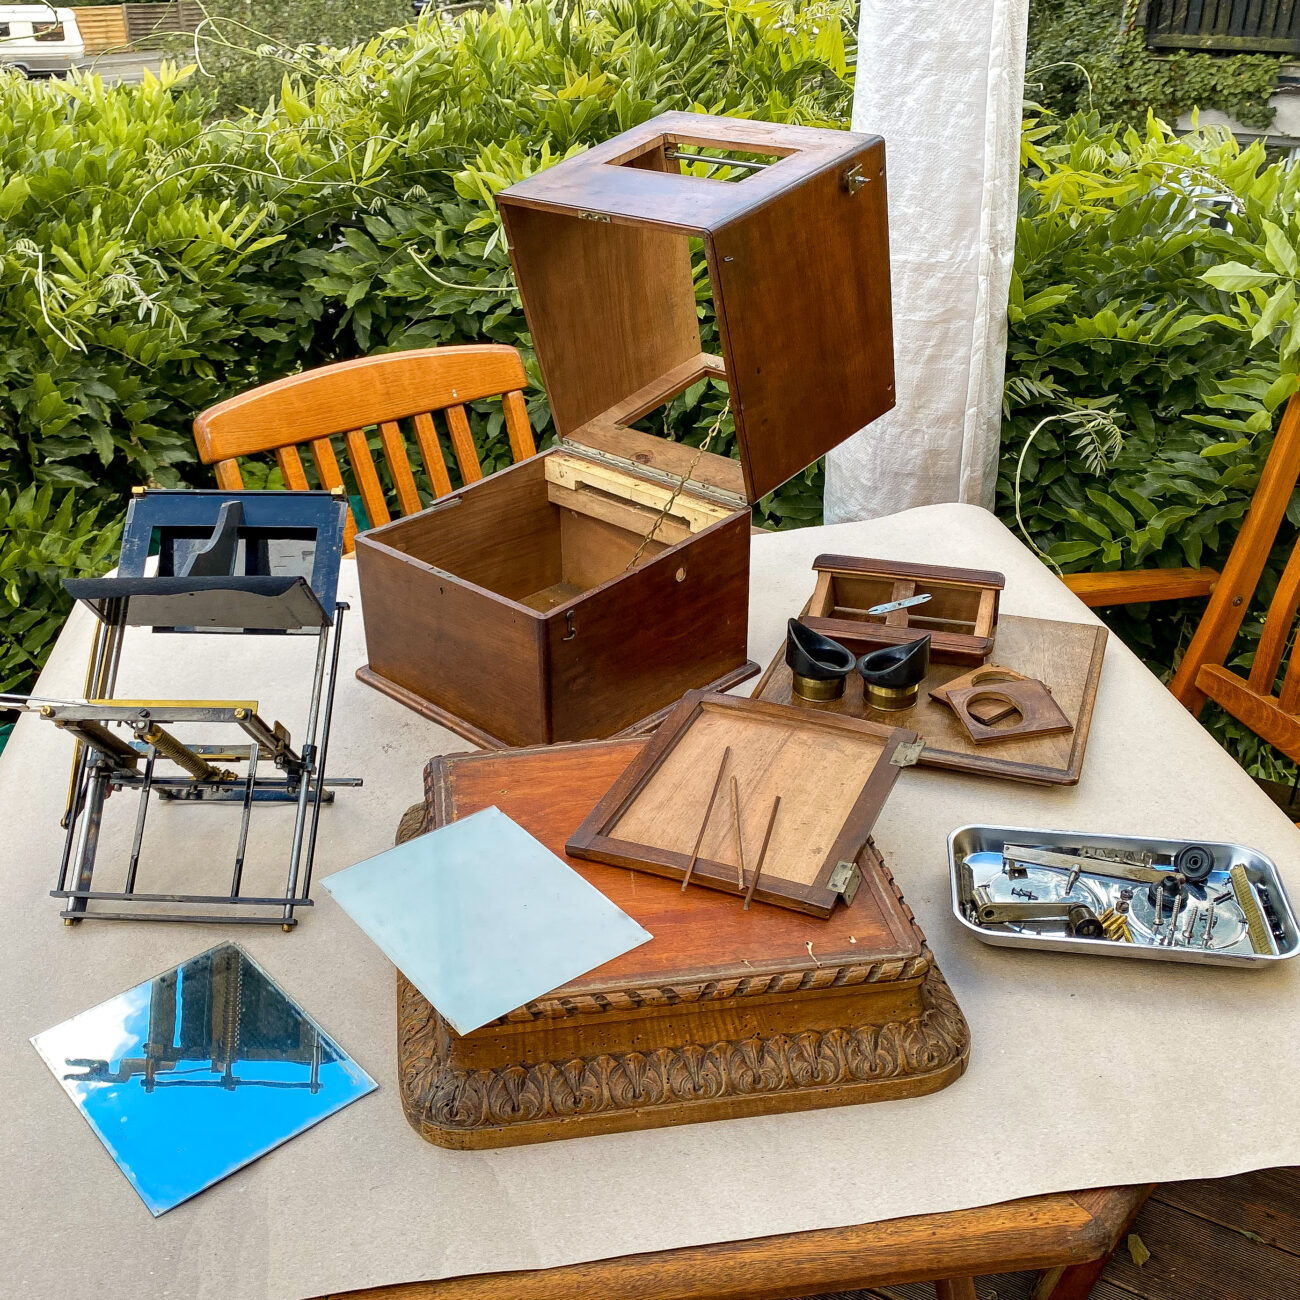
Whether you want to perform a relatively superficial cleaning or a full restoration, it is important to disassemble the stereoscope as much as possible! There are four main reasons for this:
First, there are some areas that you simply cannot reach at all, e.g., the inside of the openings through which the eyepieces are moved when focusing. But it is precisely in these places that further abrasion tends to happen when the stereoscope is in use.
Second, different materials require different cleaning techniques. Cleaning wood with liquids damages metal parts and, conversely, polishing metal makes neighbouring shellacked wood parts look dull and scratched. Without completely disassembling an object, there is no way of completely cleaning the areas of transition from one material to the other.
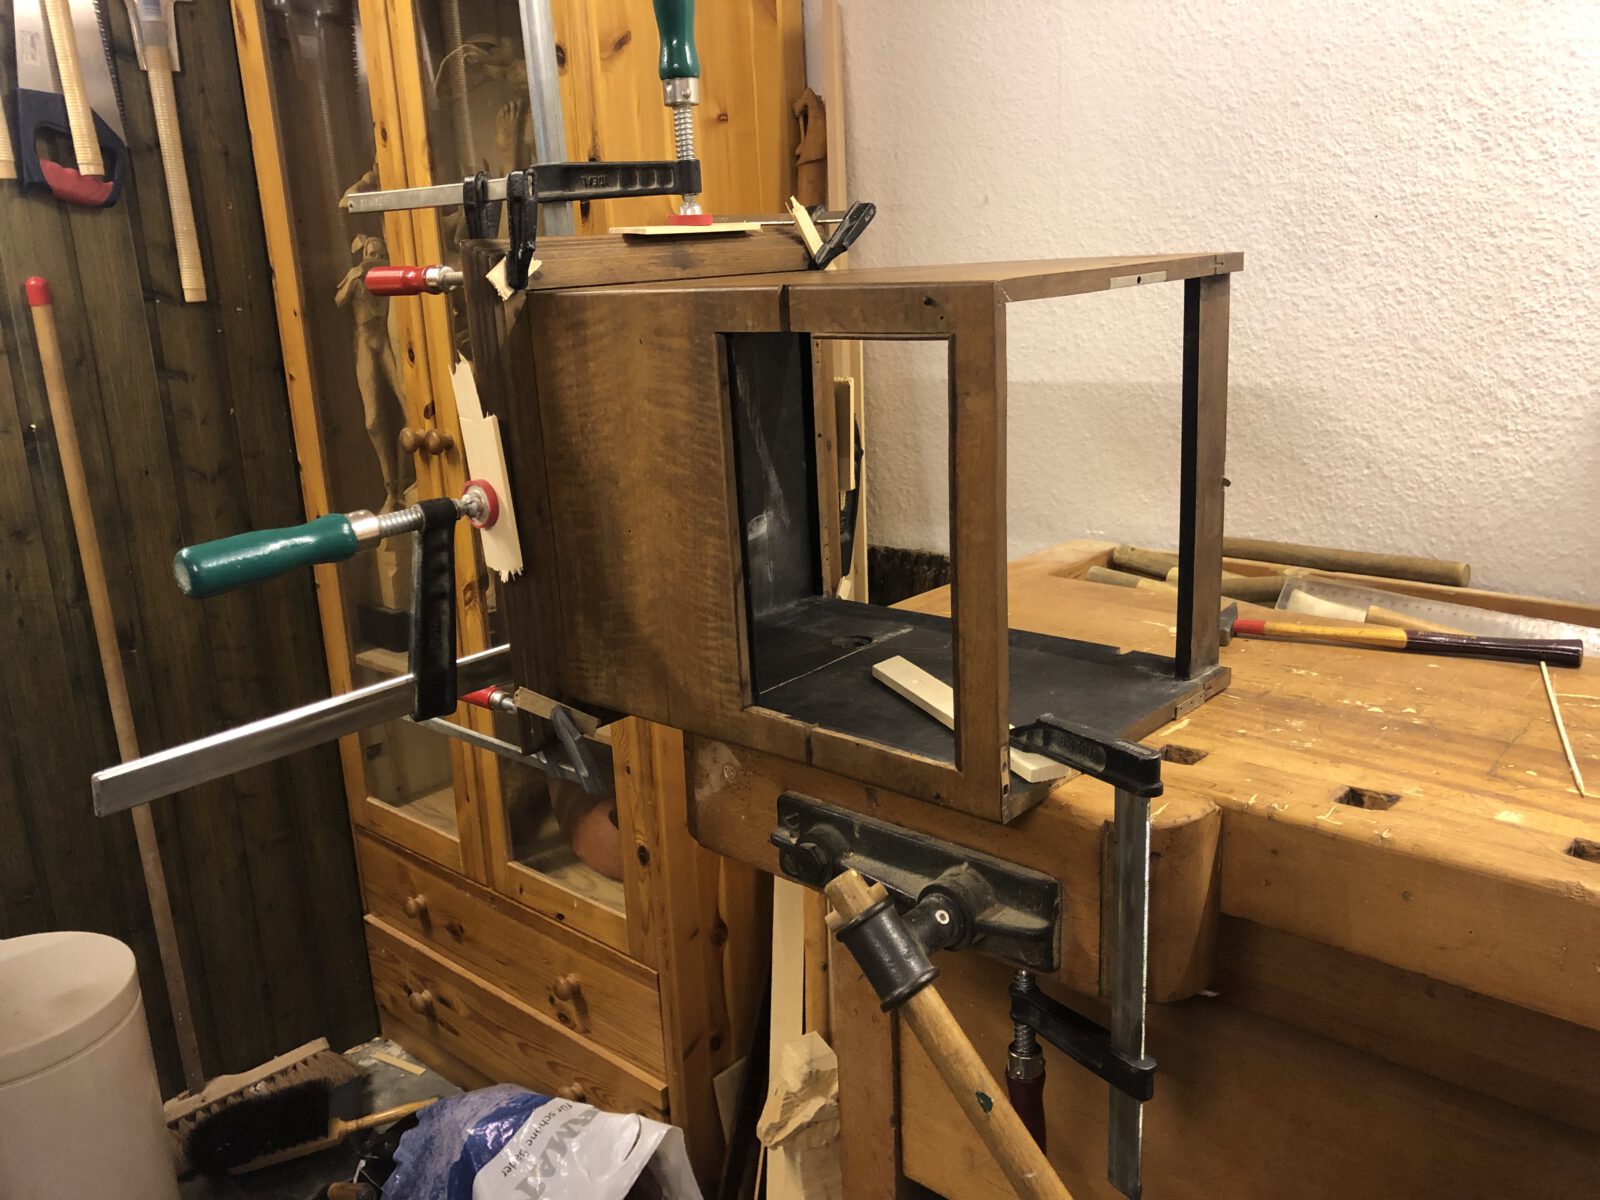
Third, cleaning sometimes requires the application of some mechanical force to the object. Not to mention clamping parts that need to be re-glued, using a hammer to fit in missing parts, or replacing lost nails. If everything is still assembled, you may loosen, bend, or break intact connections in doing so.
Finally, this is also about the philosophy of restoration. We want to work conservatively throughout the entire process and, if possible, even reverse processes of decay. However, if you were to clean an object without dismantling it first, you may actually accelerate the process of decay. This is because wear will inevitably continue on the freely accessible areas by your cleaning activity, while dirt in cracks and crevices has not ever been reached. This might lead to a situation where you have to apply new paint because you rubbed the worn old paint off the already worn wooden surface even though you really only wanted to get to the back of a Bakelite knob.

Tools
A small standard toolbox is ideal for dismantling, since it usually contains screwdrivers in various sizes as well as flat-nose pliers and side cutters.
If you want to fix, grip or pull something with the flat-nose pliers, remember to use a piece of fabric or cork to prevent the pliers from scratching your surface. You can use the side cutter to loosen (not to cut off!) small nails. This is especially useful for removing things like manufacturer’s labels.
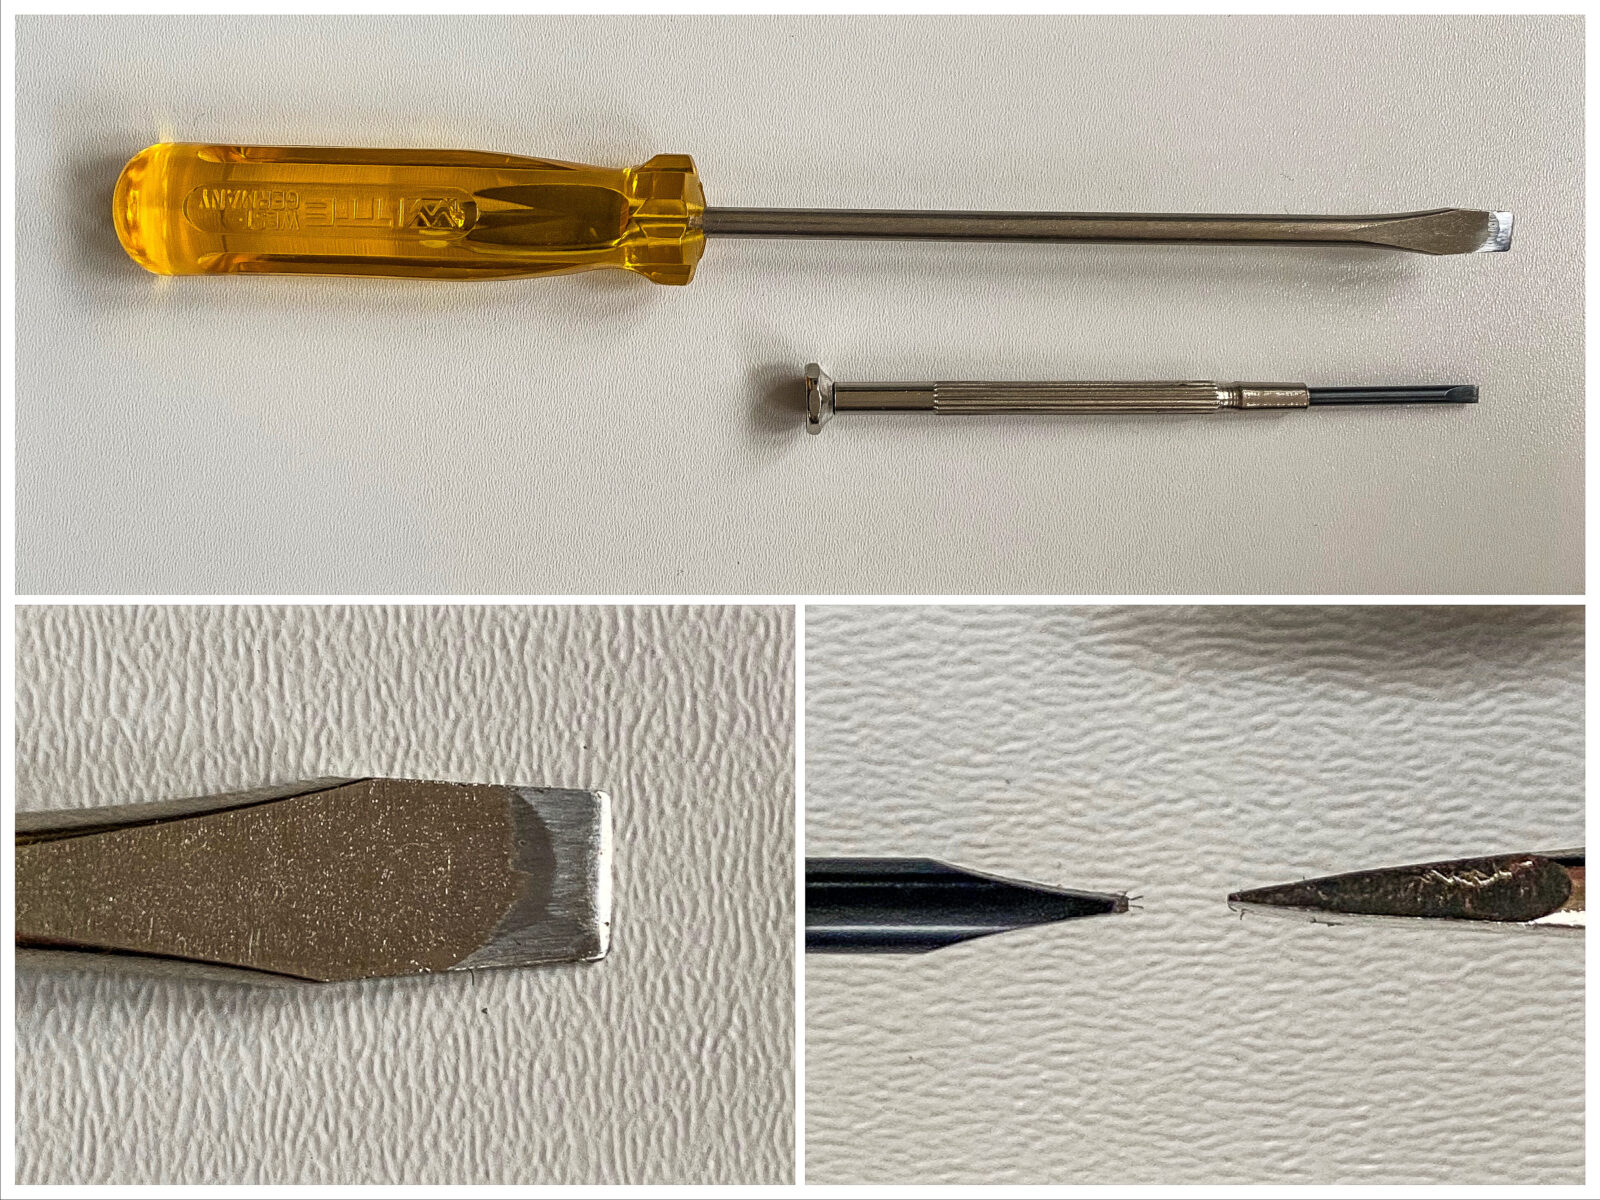
The most important tool, however, is the screwdriver. Stereoscopic antiques typically utilize slotted screws exclusively (not Phillps head or Allen head). For the smaller screws, you may have to resort to watchmaker’s tool sets, but standard screwdrivers can usually be used successfully here. However, especially the larger screws used in antique stereoscopes tend to have much narrower slots than modern screws of the same size. So, a modern screwdriver of the proper blade width won’t fit in the slot, while a watchmaker’s screwdriver which is thin enough to go in the screw slot won’t be wide enough to apply the mechanical force necessary to turn the screw. My recommendation: Buy a large screwdriver with a comfortable handle and a blade about 4 mm (i.e. 1/8 in) wide and grind the blade down to be much thinner — as flat as a butter knife.

If with the right tools, many screws will still refuse to loosen straight away. If the shanks are metal, carefully spray the head with some penetrating oil, e.g. spray-on WD-40, and leave it to do its job. Sometimes you will have to do this multiple times before unscrewing is possible.
If the screw head is recessed deep into the wood, it helps to carefully scrape the head free with a knife.
If the screws are dirty, you can scrape out the slot in the screw with the corner of the screwdriver head. It might also help to loosen the screw by trying to turn it back and forth a little at first. If it gets difficult and you have to use more force, hold the neck of the screwdriver to keep it from slipping and scratching the surface.
Procedure
I have come across different makes and models of stereoscopic antiques time and again over the past few years and it is impossible to give a complete explanation. Still, there are a few things in common.
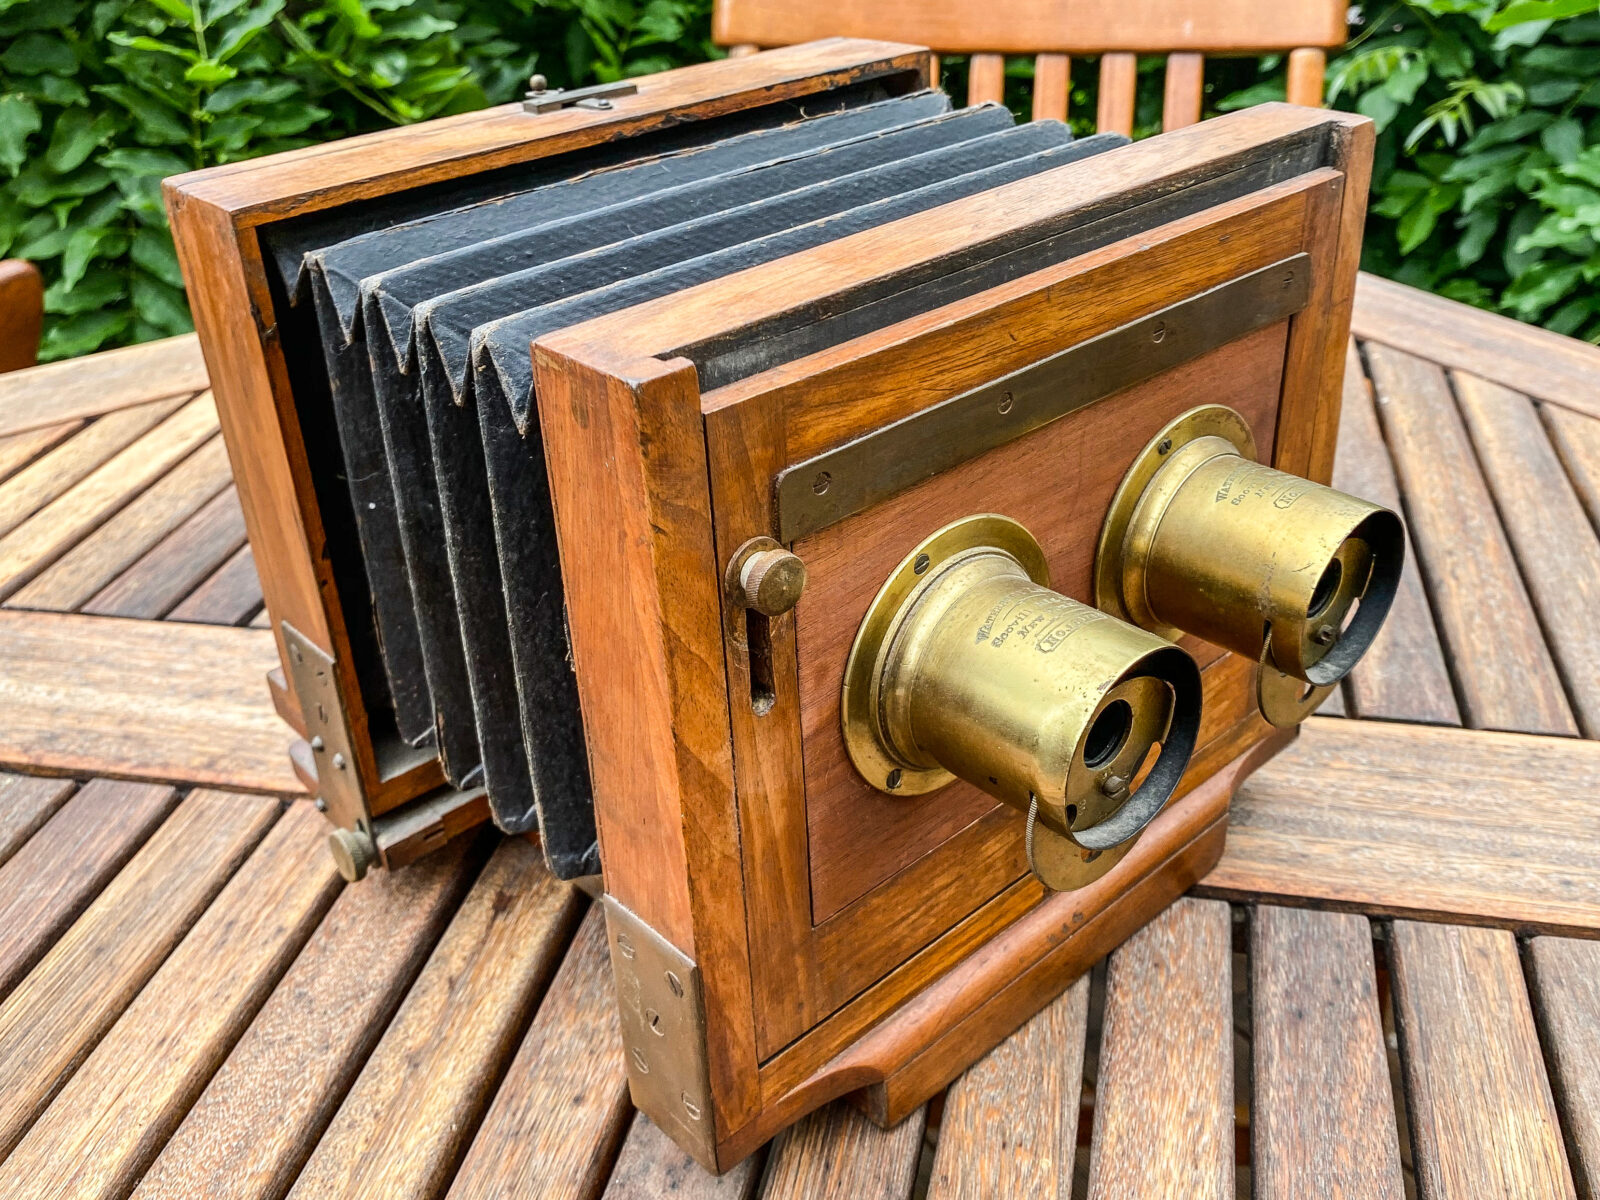
For example, eyepieces or lenses can usually be unscrewed and disassembled by hand. Beware of too much pressure! If you grip them too tightly, you may break or bend the eyepiece mounts or the threaded rings! It’s best to place your palm flat against the entire ring and then twist. If your hand keeps slipping, try putting on rubber gloves.
Levers that do not have a screw can sometimes be amazingly easy to pull out. Often, however, nipped nails also serve as pins for holding them in place. If this is the case, these levers are generally impossible to detach.
If prismatic lenses or glass panes are held in place with pieces of wood glued inside the device, see if you can gently break off these pieces of wood with your bare hands. You can also use a knife or a screwdriver as a lever. Make sure that any damage you may cause will not be visible from the outside and consider whether it is worth dismantling this part of your object for the restoration.
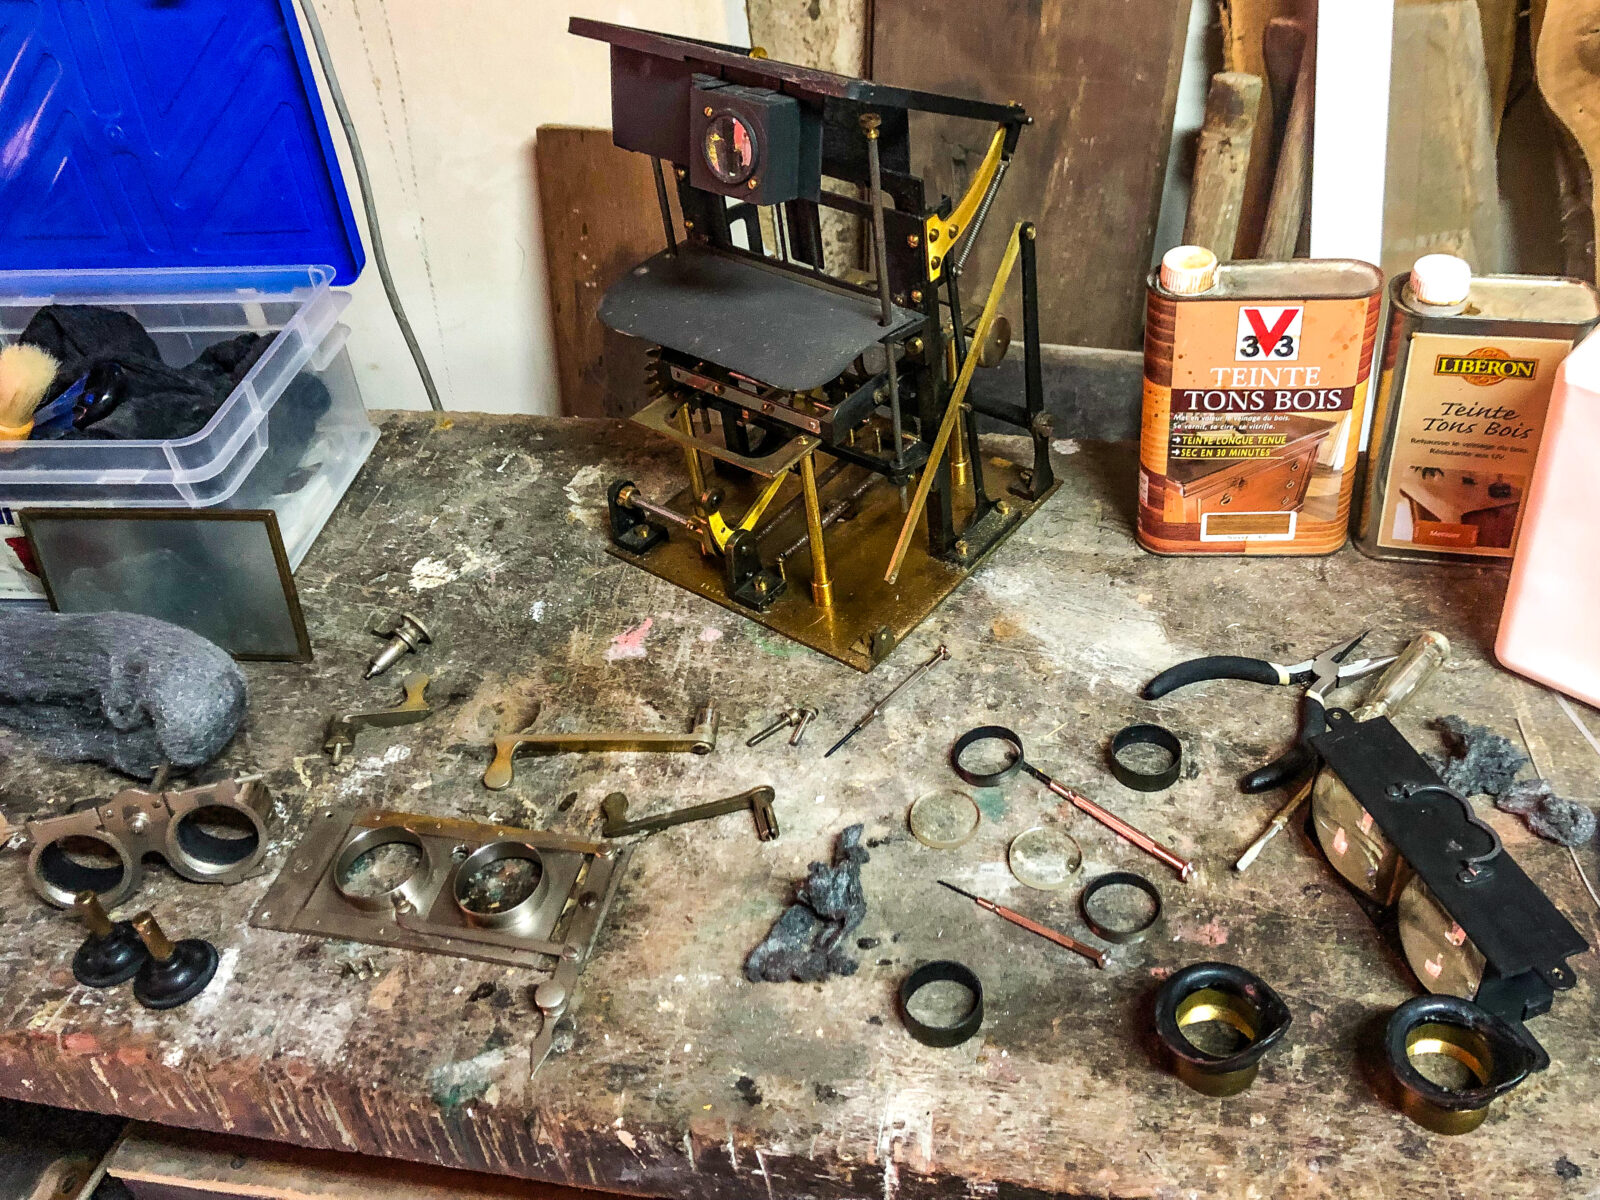
Depending on the order in which you do things, you won’t have to dismantle everything at once. For example, it is advisable to keep eyepieces assembled when you are not working on them so that you don’t have too many small parts out at a time. A type case or a magnetic tray is ideal for storing the smallest parts.
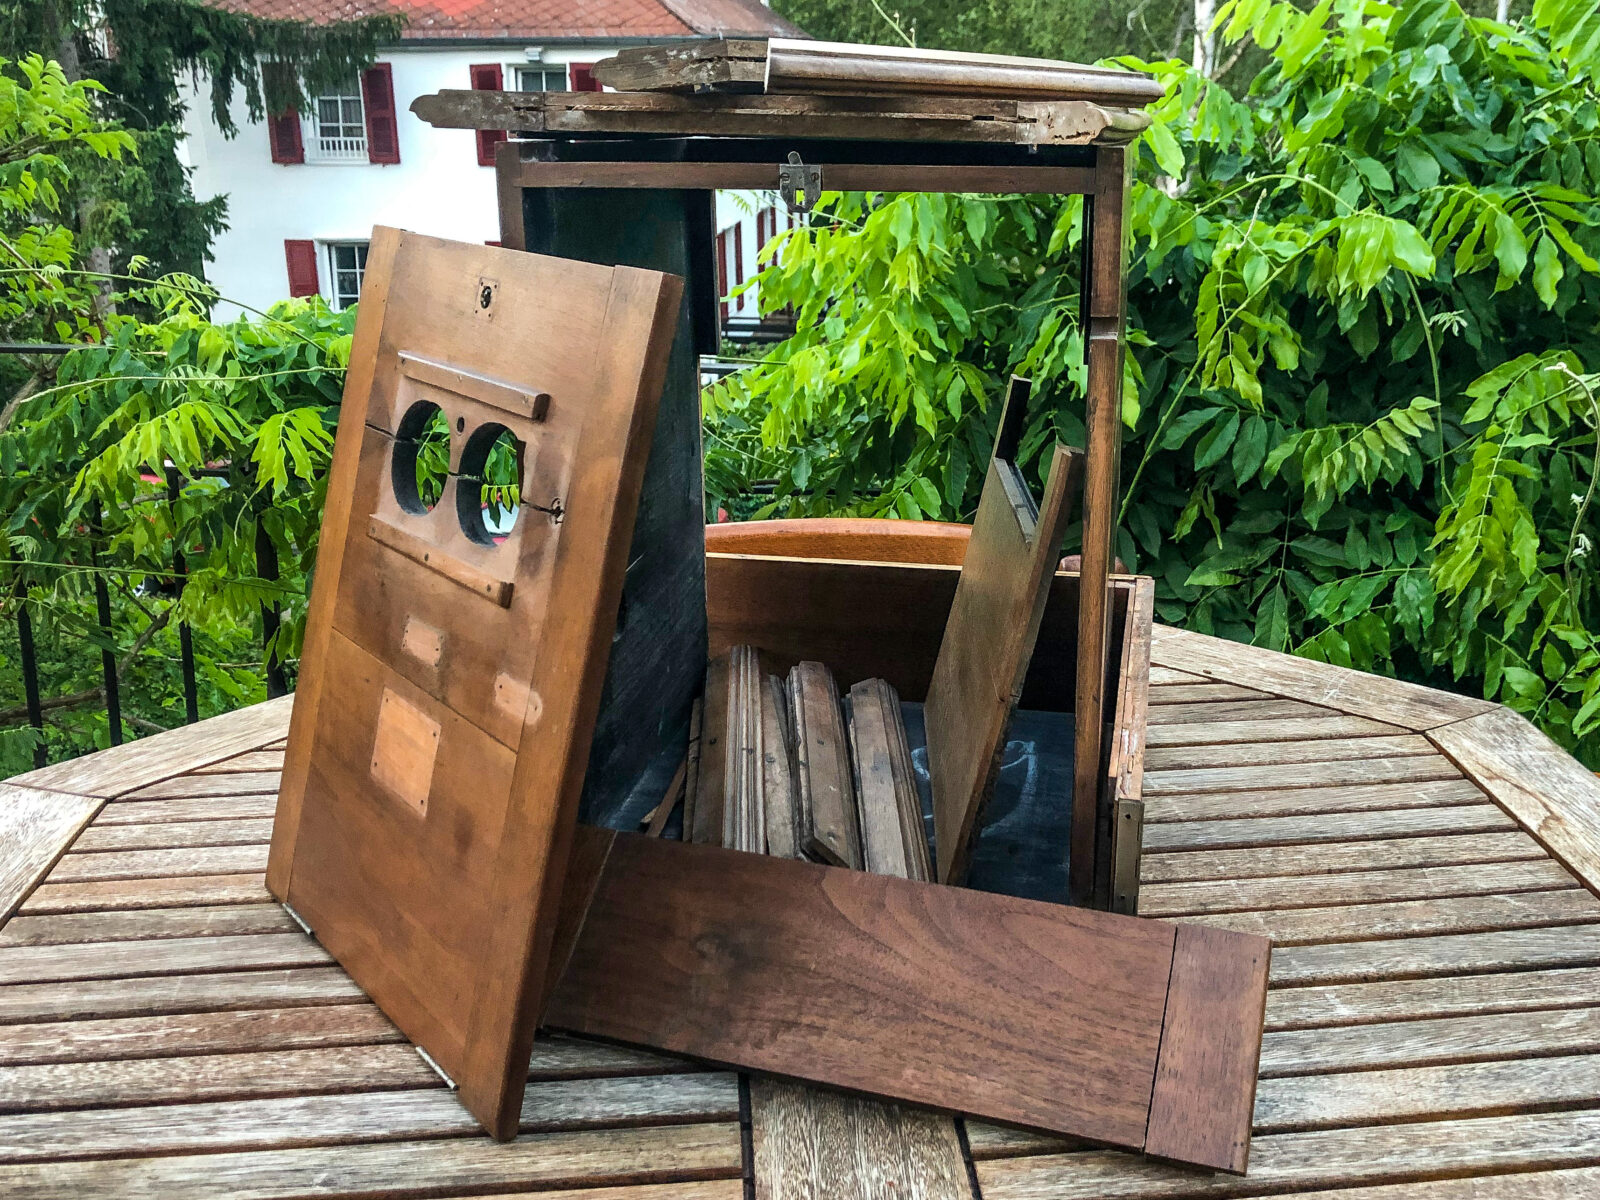
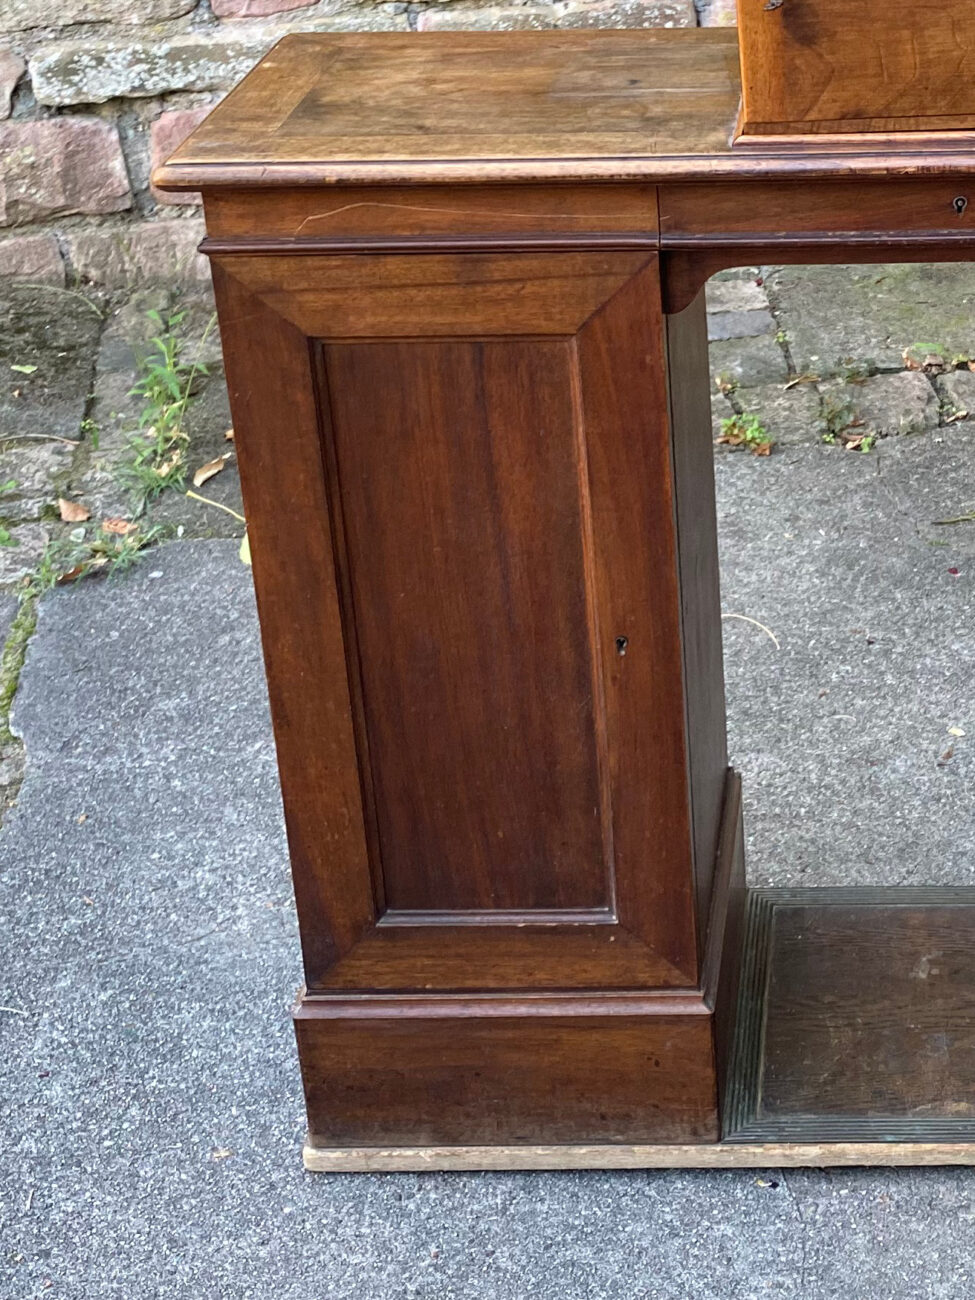
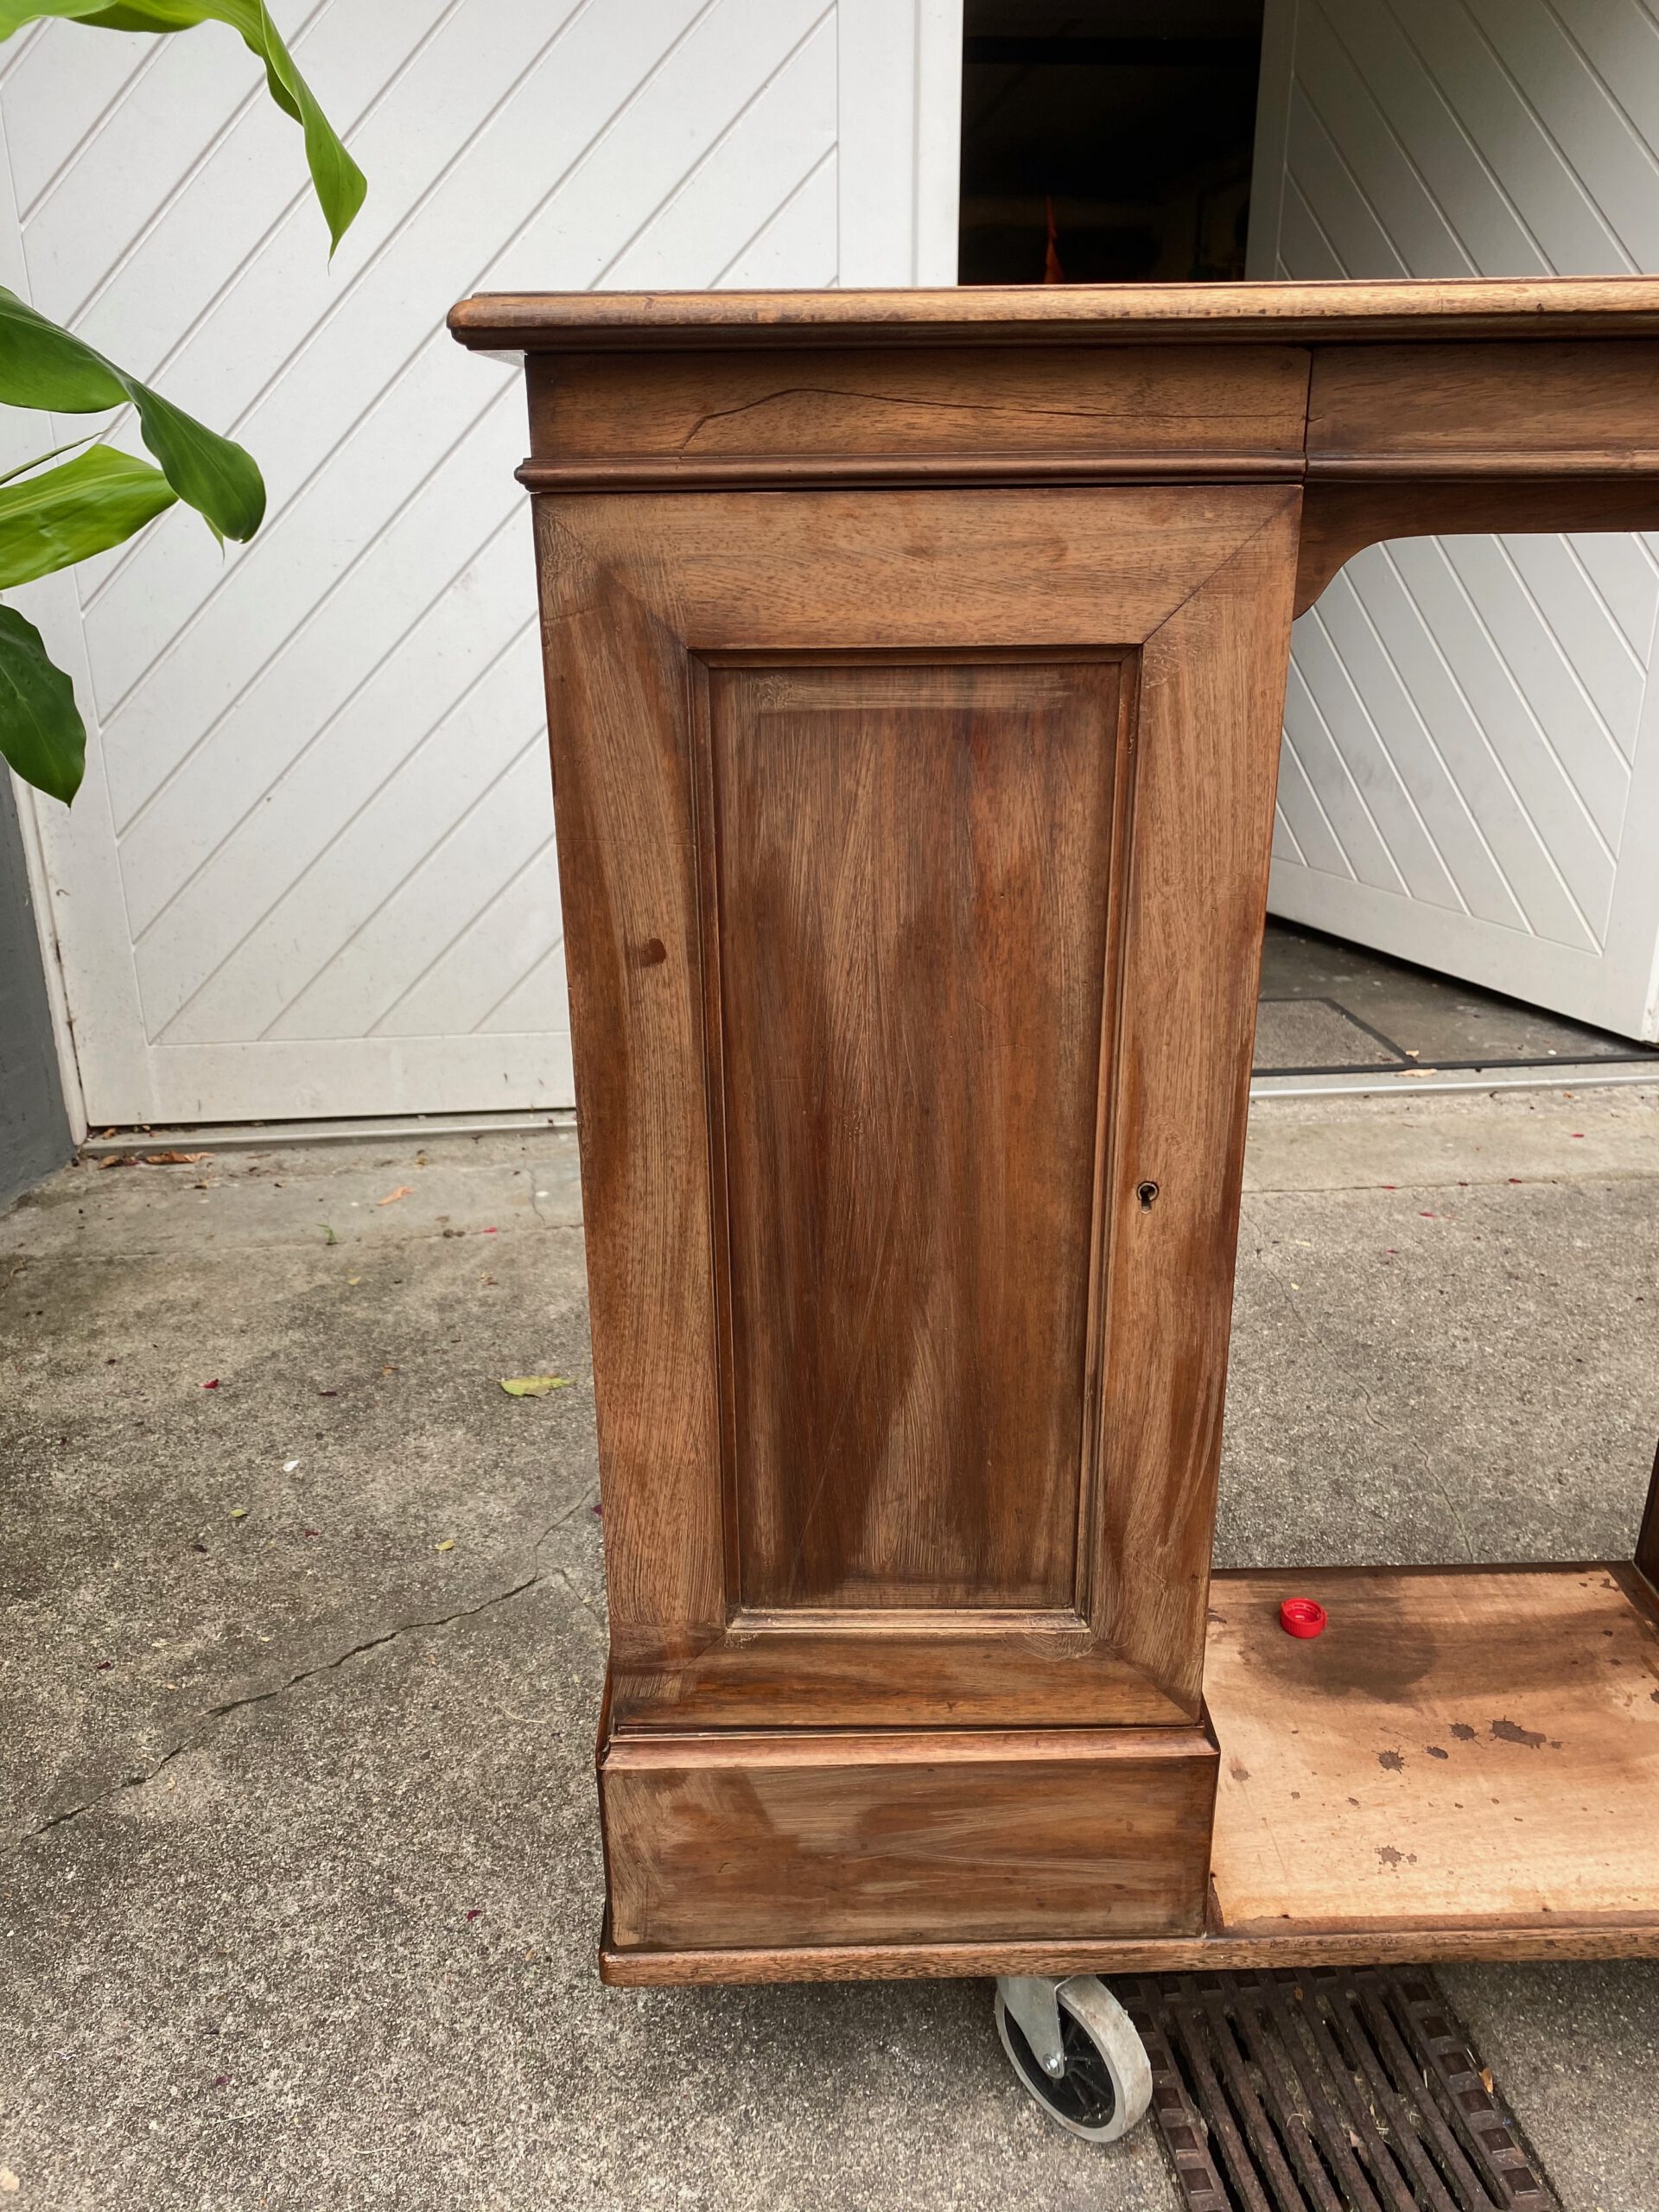
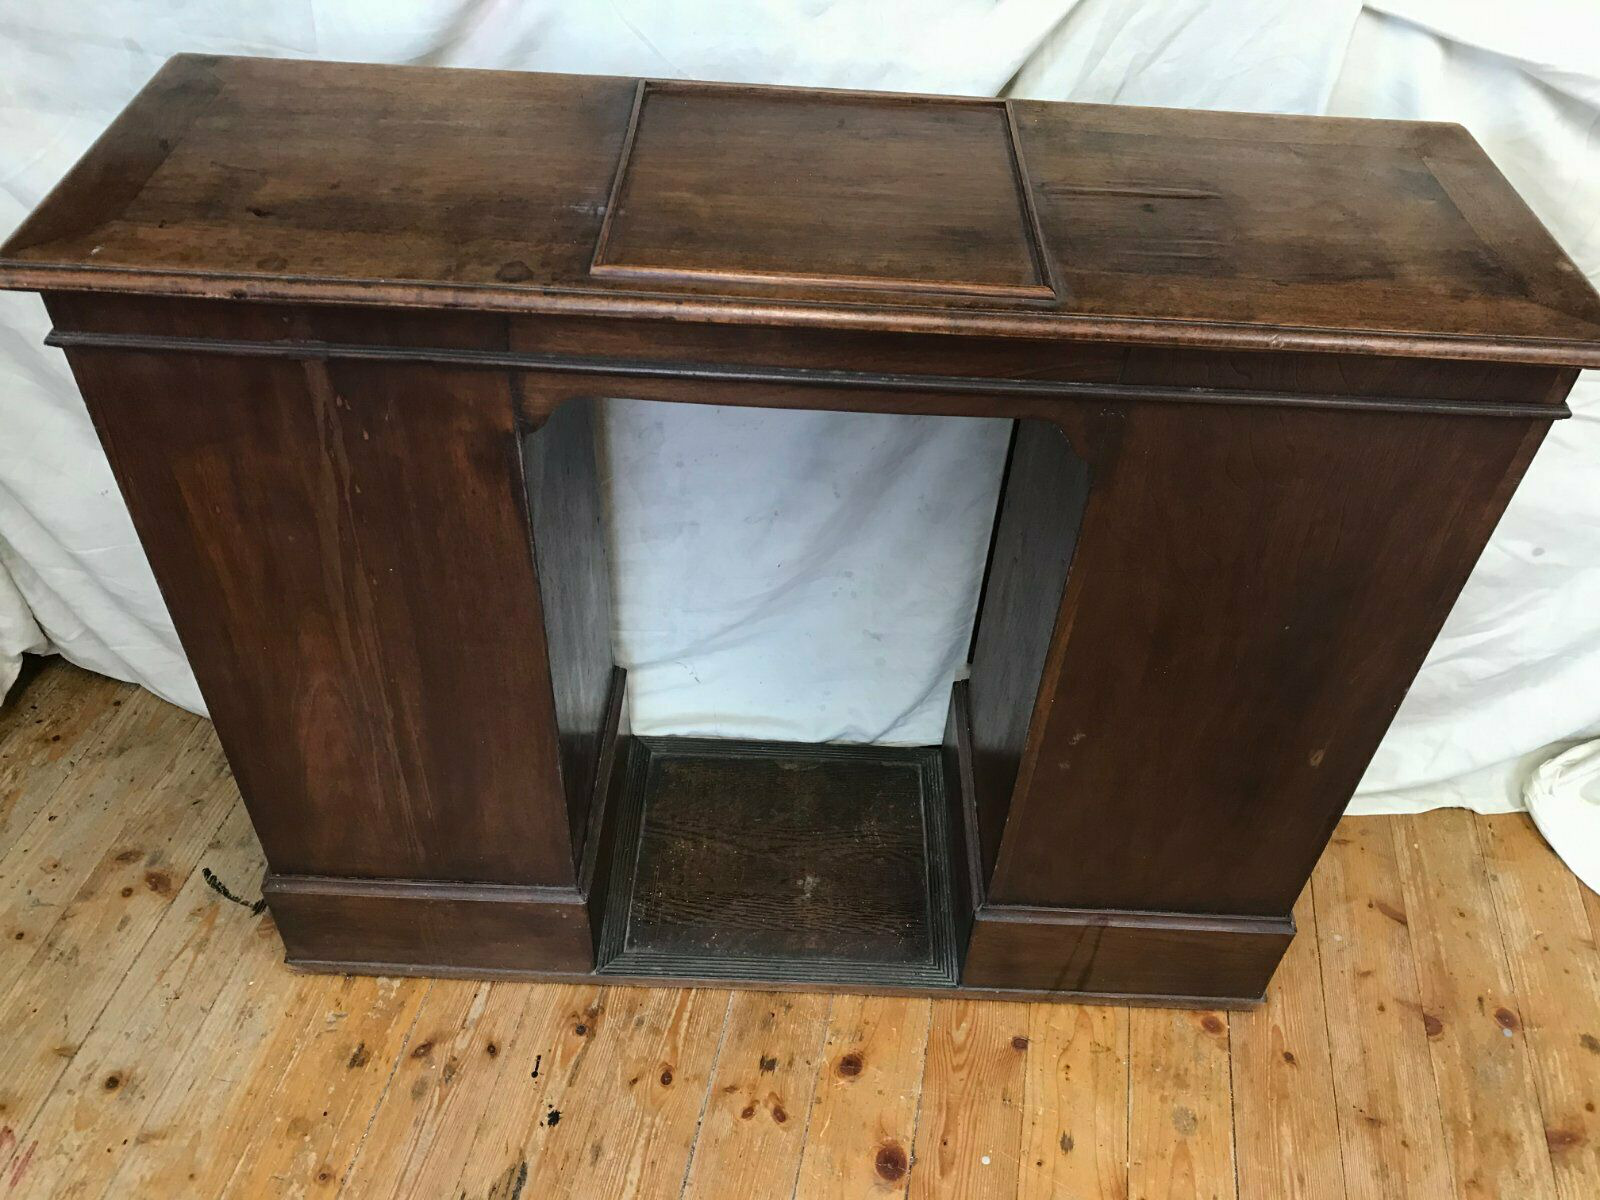
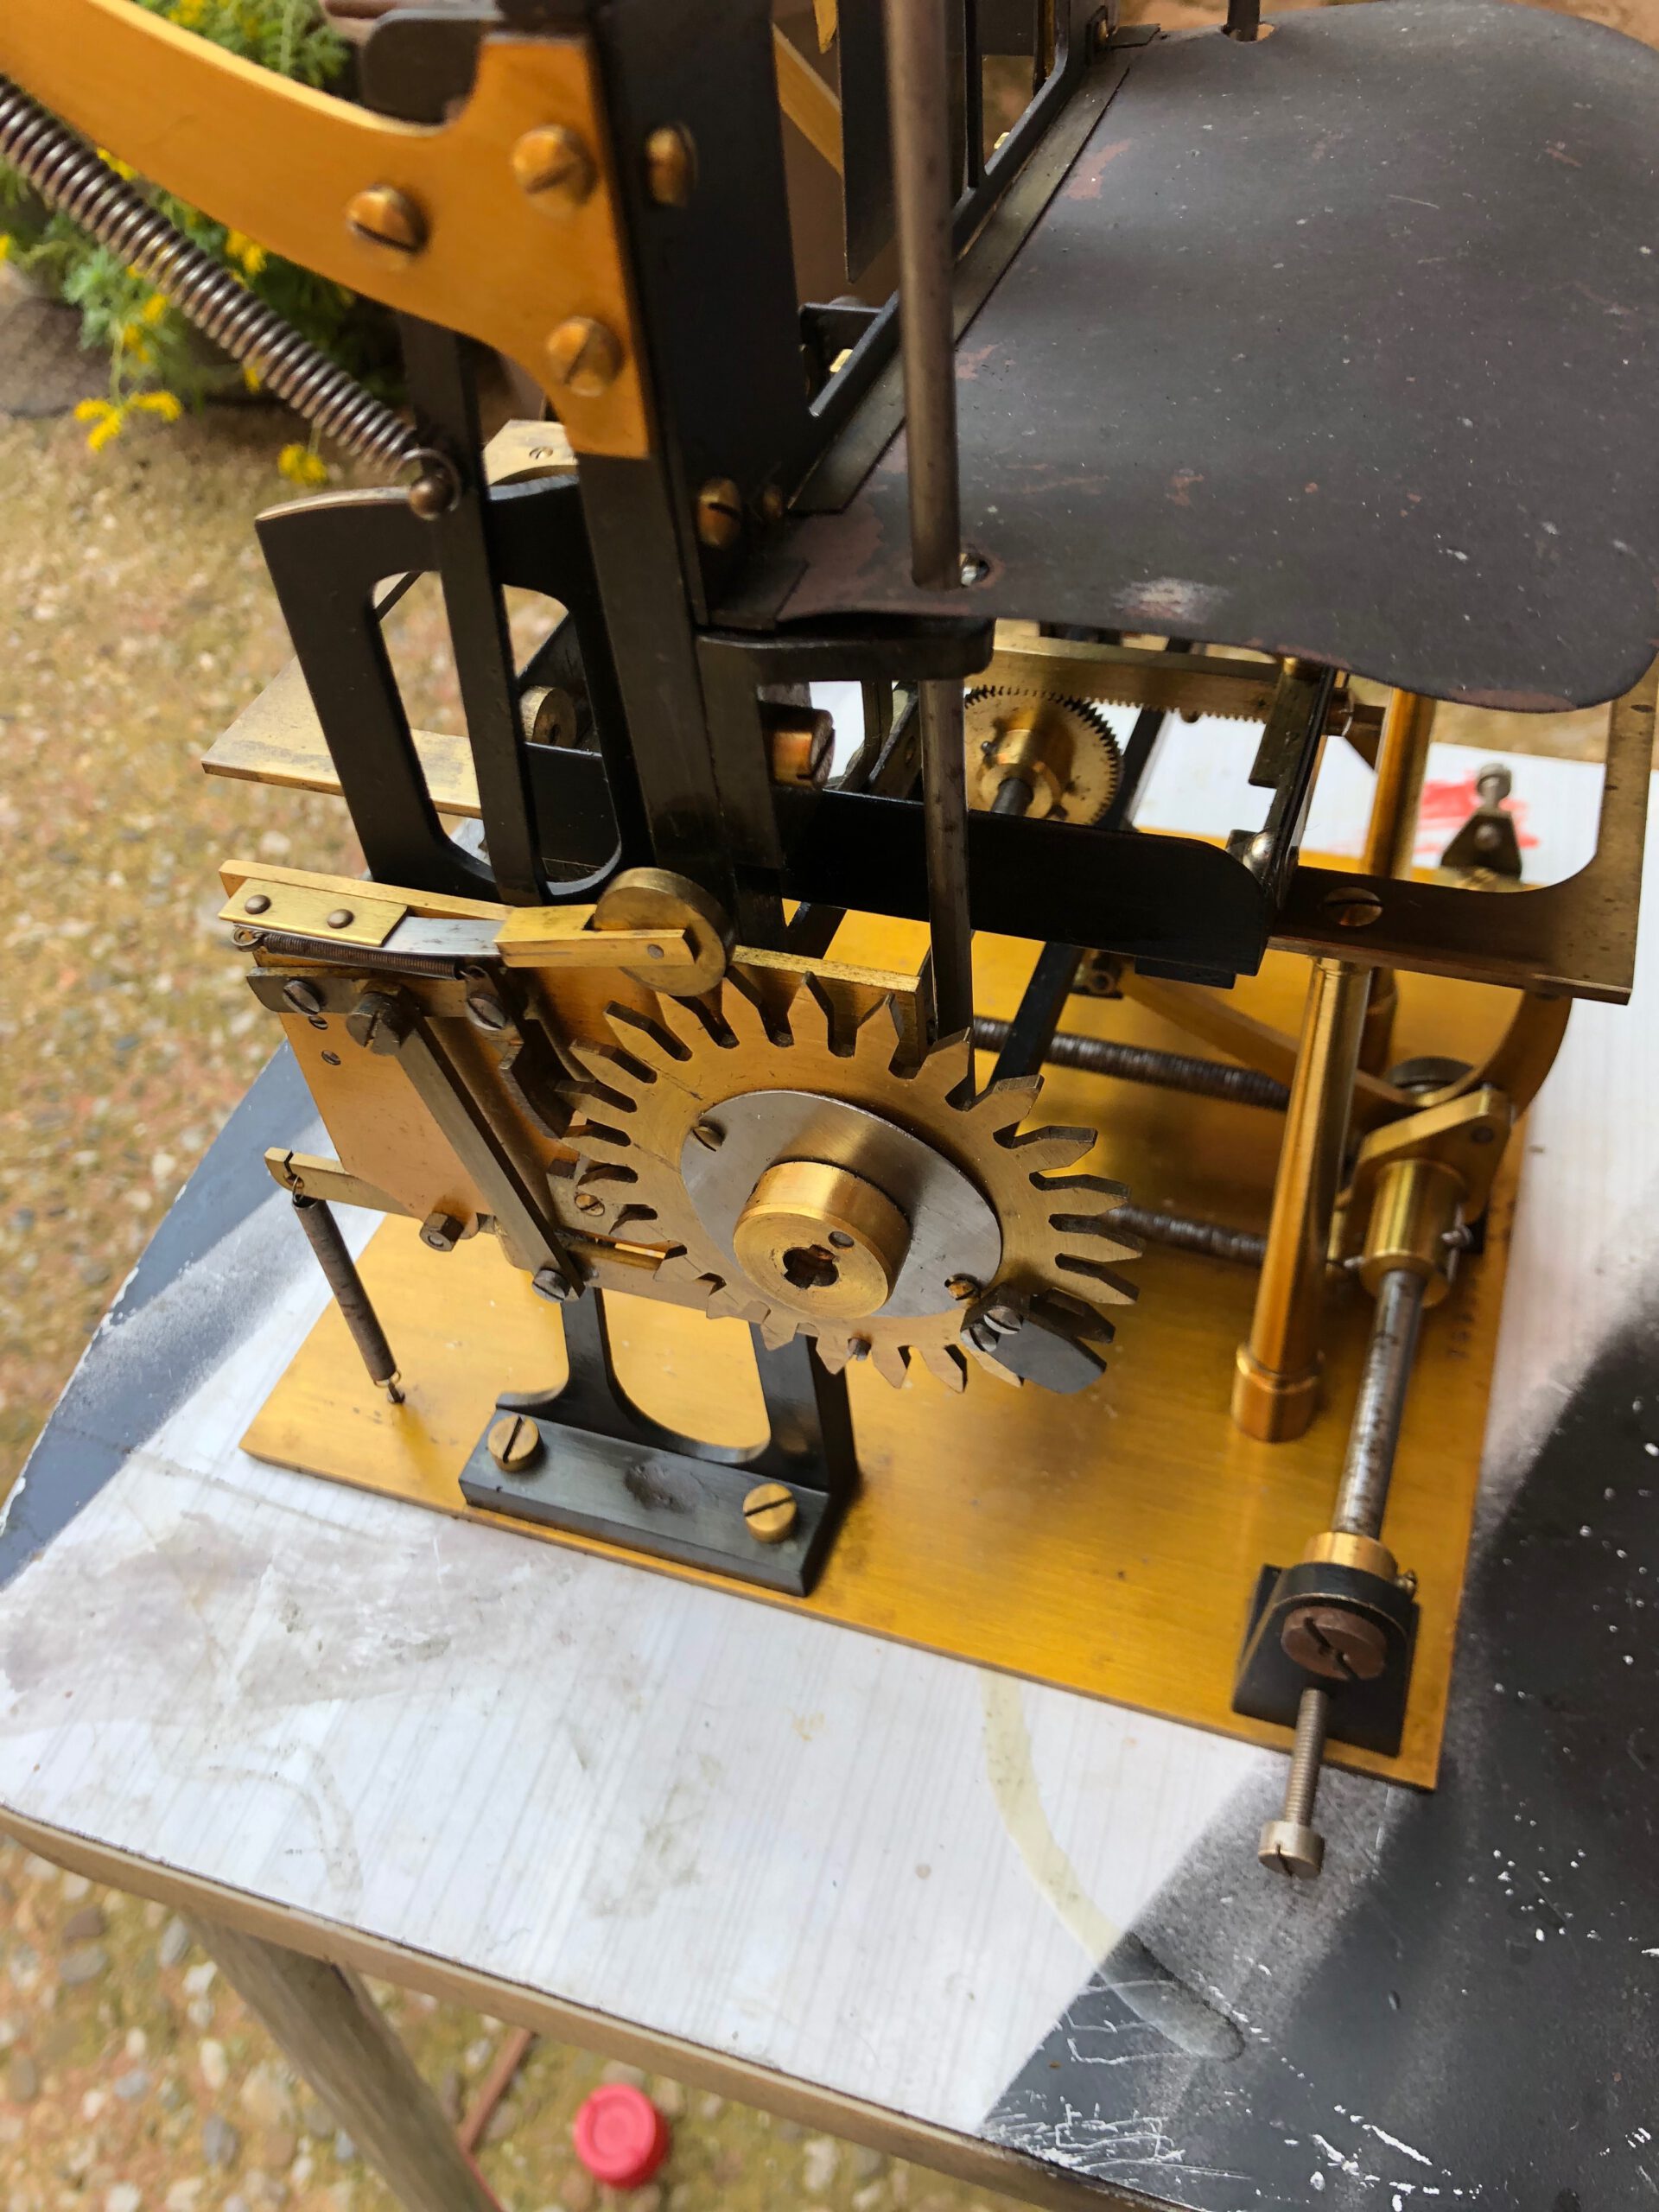
The mechanisms inside larger table stereoscopes can usually be taken out of their casings and cleaned without further dismantling is necessary.
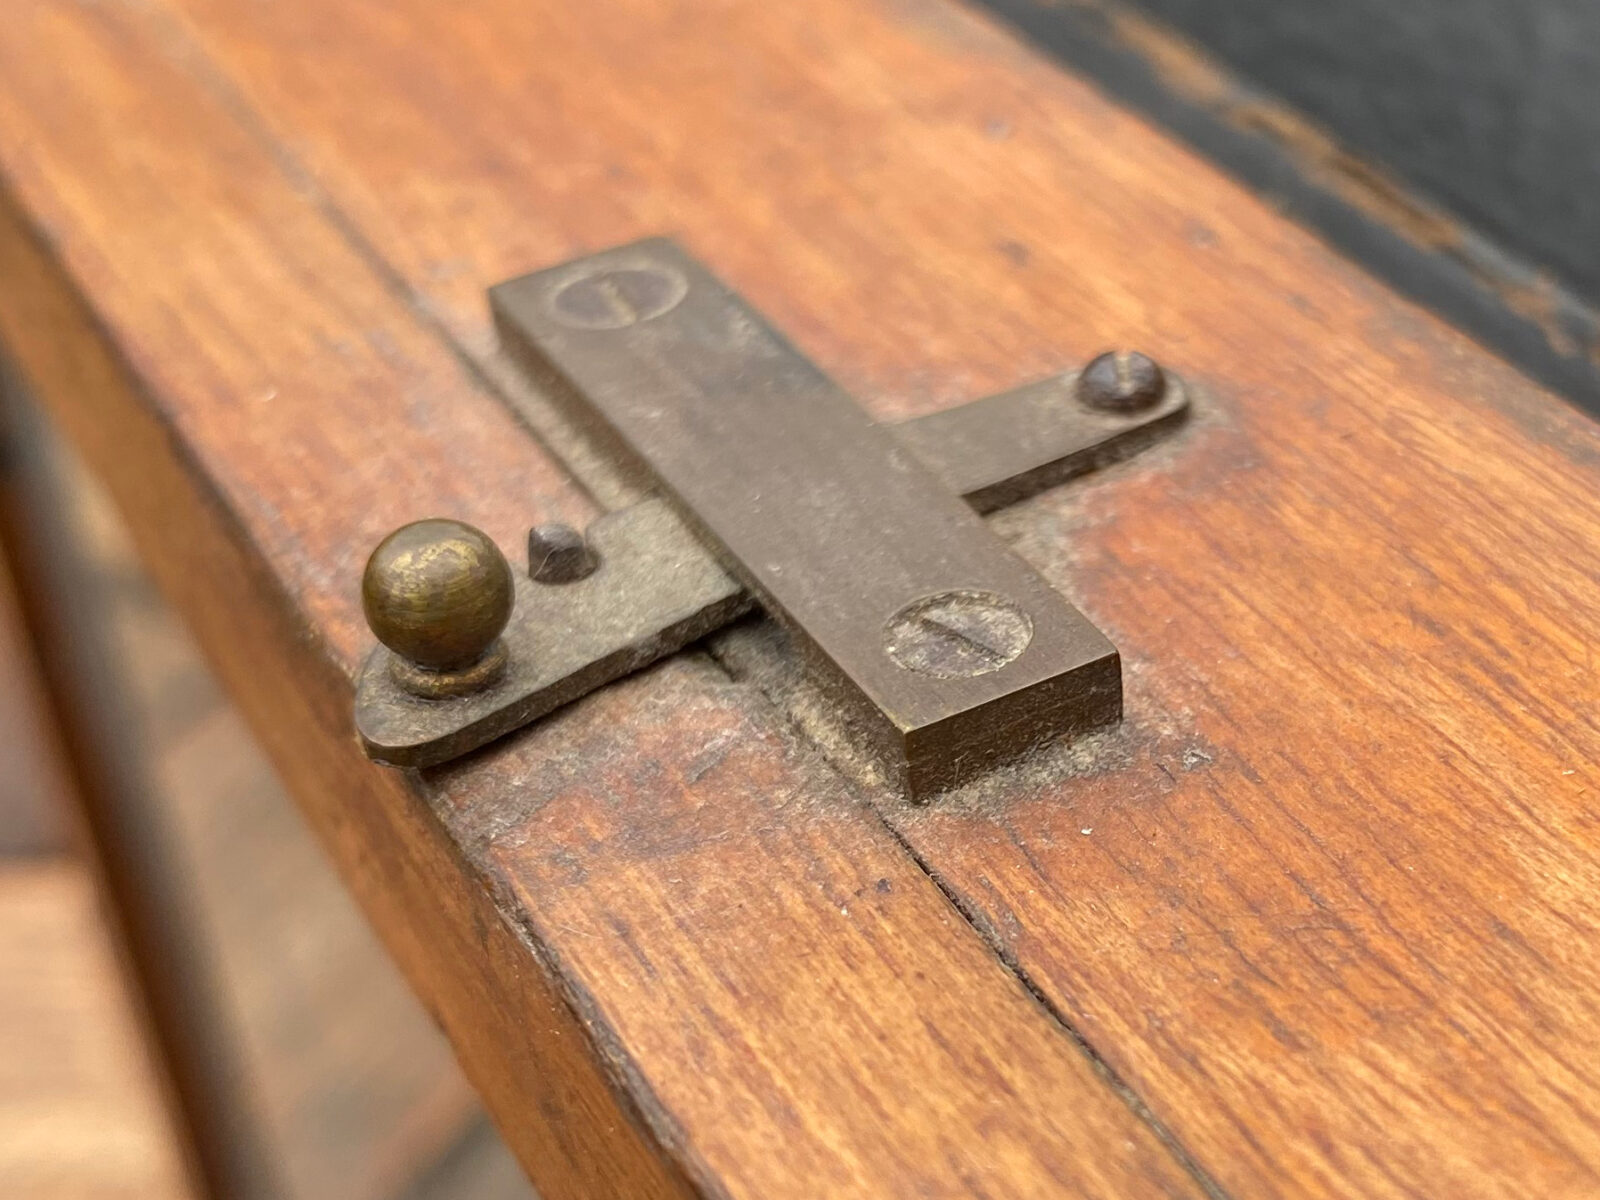
When reassembling the device after cleaning, you will notice that screws or nails may no longer grip because the hole has gotten too large. To fix this, spread some wood glue on the tip of a toothpick, insert it into the hole in the wood, and then break it off. To prevent the screw from changing its position, you can use a small nail to prepare a hole in the screw’s original position by hand.
Expect having to replace rusty screws and not be able to reuse small nails. It’s important to check your local hardware store for suitable replacements before dismantling.
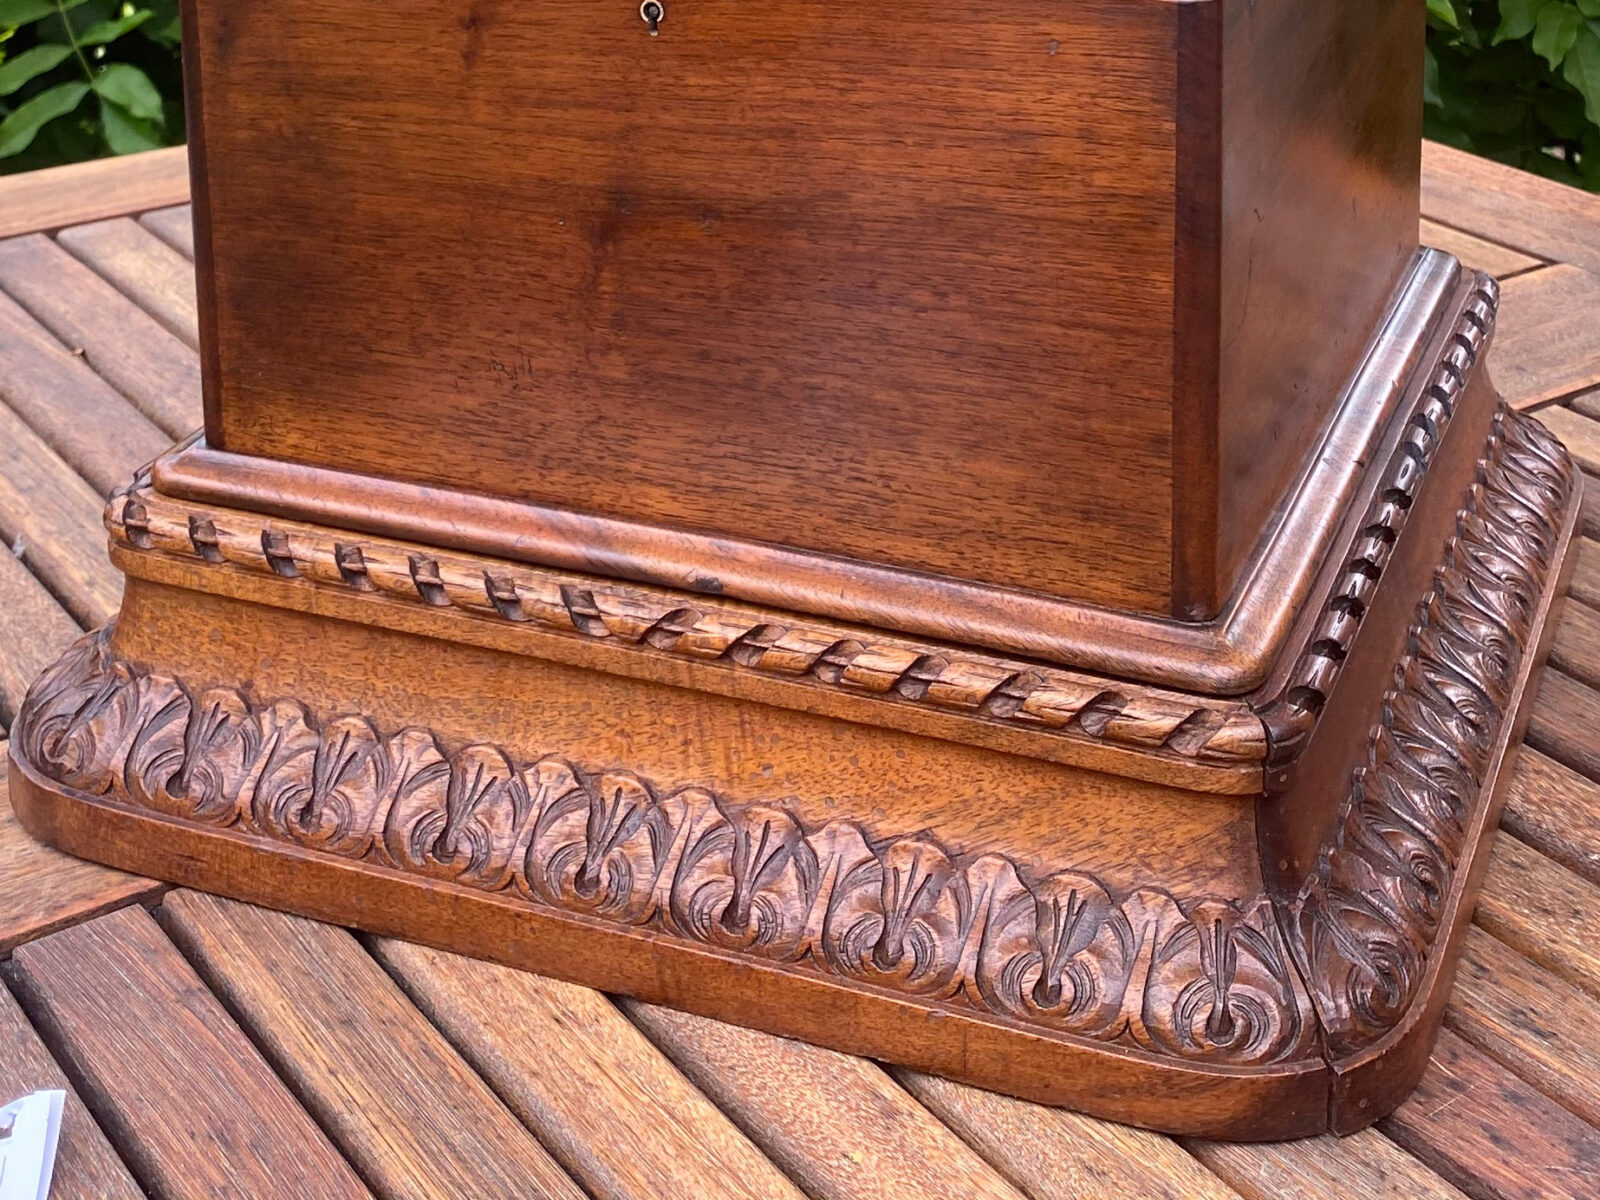
Cleaning and Finishing
The majority of my restoration process consists of very thorough cleaning.
Lacquered Surfaces with Glossy Finish and Bakelite
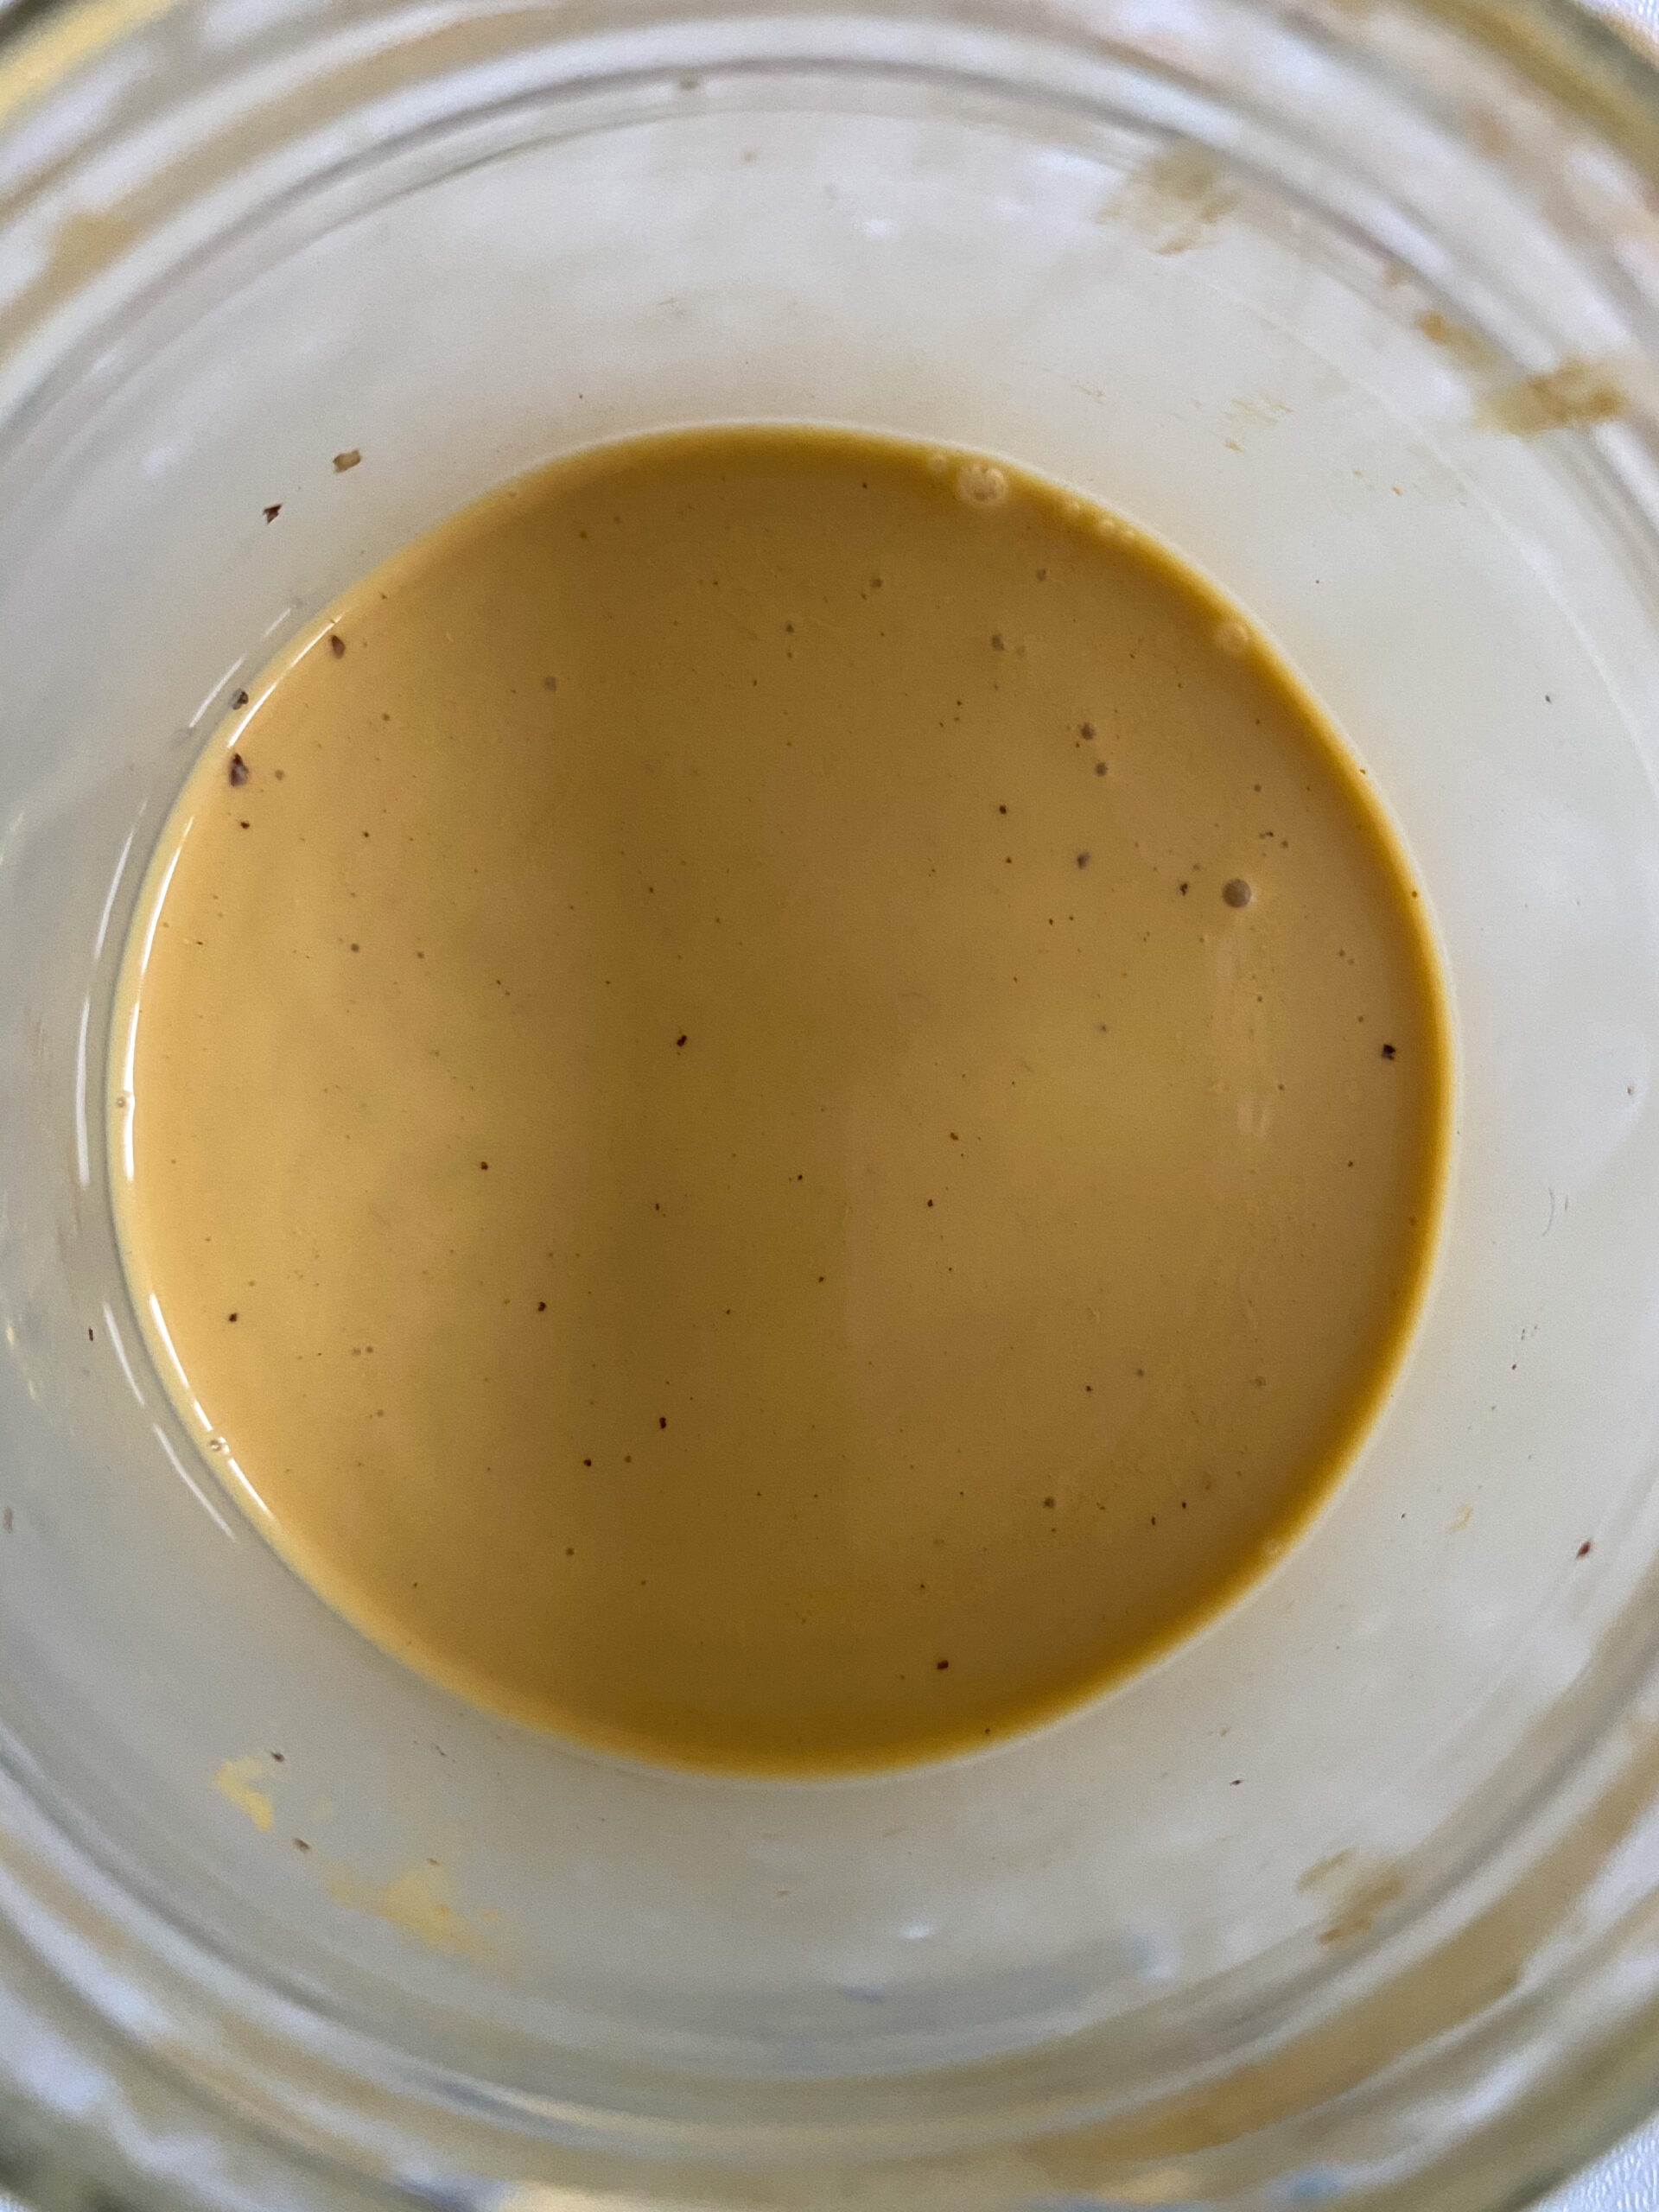
I use the same cleaning fluid for shellac-polished wood, lacquered metal with a glossy finish, and Bakelite parts. There used to be a product from the German company Clou for polishing shellac – a water-based suspension that contained a little soap and pumice powder as an abrasive. The liquid soap was ideal for loosening encrusted dirt, and the abrasives smoothed the surface without leaving any visible marks. The fluid was applied with a ball of cloth and, after drying, polished with a clean cloth until it was shiny. Unfortunately, this product was discontinued.
Two years ago, I finally came across an alternative that is easy to make at home. There are many different polishing pastes for car paint that contain abrasives. Look for a water-based product and above all, make sure it does not contain any wax or silicone. Dilute the product with water until it has reached the consistency of milk.
The application is then exactly as described above – there will probably be some light clouding on the surface after the product has dried (likely due to the abrasive), but it can easily be wiped off with a damp cloth. Afterwards, you should dry the surface quickly with a fresh, clean cloth and polish it until it is shiny.

A final treatment is optional after cleaning. Bakelite gets a nice, even shine if you treat it with colourless wax. Usually there are specific products for the care of antique wooden furniture. After rubbing the wax in, let it dry completely and polish it briefly, and thoroughly, with a dry cloth until it shines.
The same treatment is also useful for wood with a shellac surface; isolated scratches or blunt spots can be concealed well this way. However, be careful to apply very little wax and avoid unnecessary contact with the surface for several days after polishing. The wax takes a long time to dry completely because it cannot be absorbed into the wood. Don’t worry about overdoing it. You can completely remove excess wax with a soft cloth. I strongly advise against treatment with standard liquid oily standard furniture polish! The oil penetrates even the smallest cracks in the paint and pulls into the wood underneath. This results in dark spots, that will be irreversible or at least visible for a long time.
Caution: Repairs to wood, metal and Bakelite parts must be made before the final treatment of the surface!
Waxed Wood
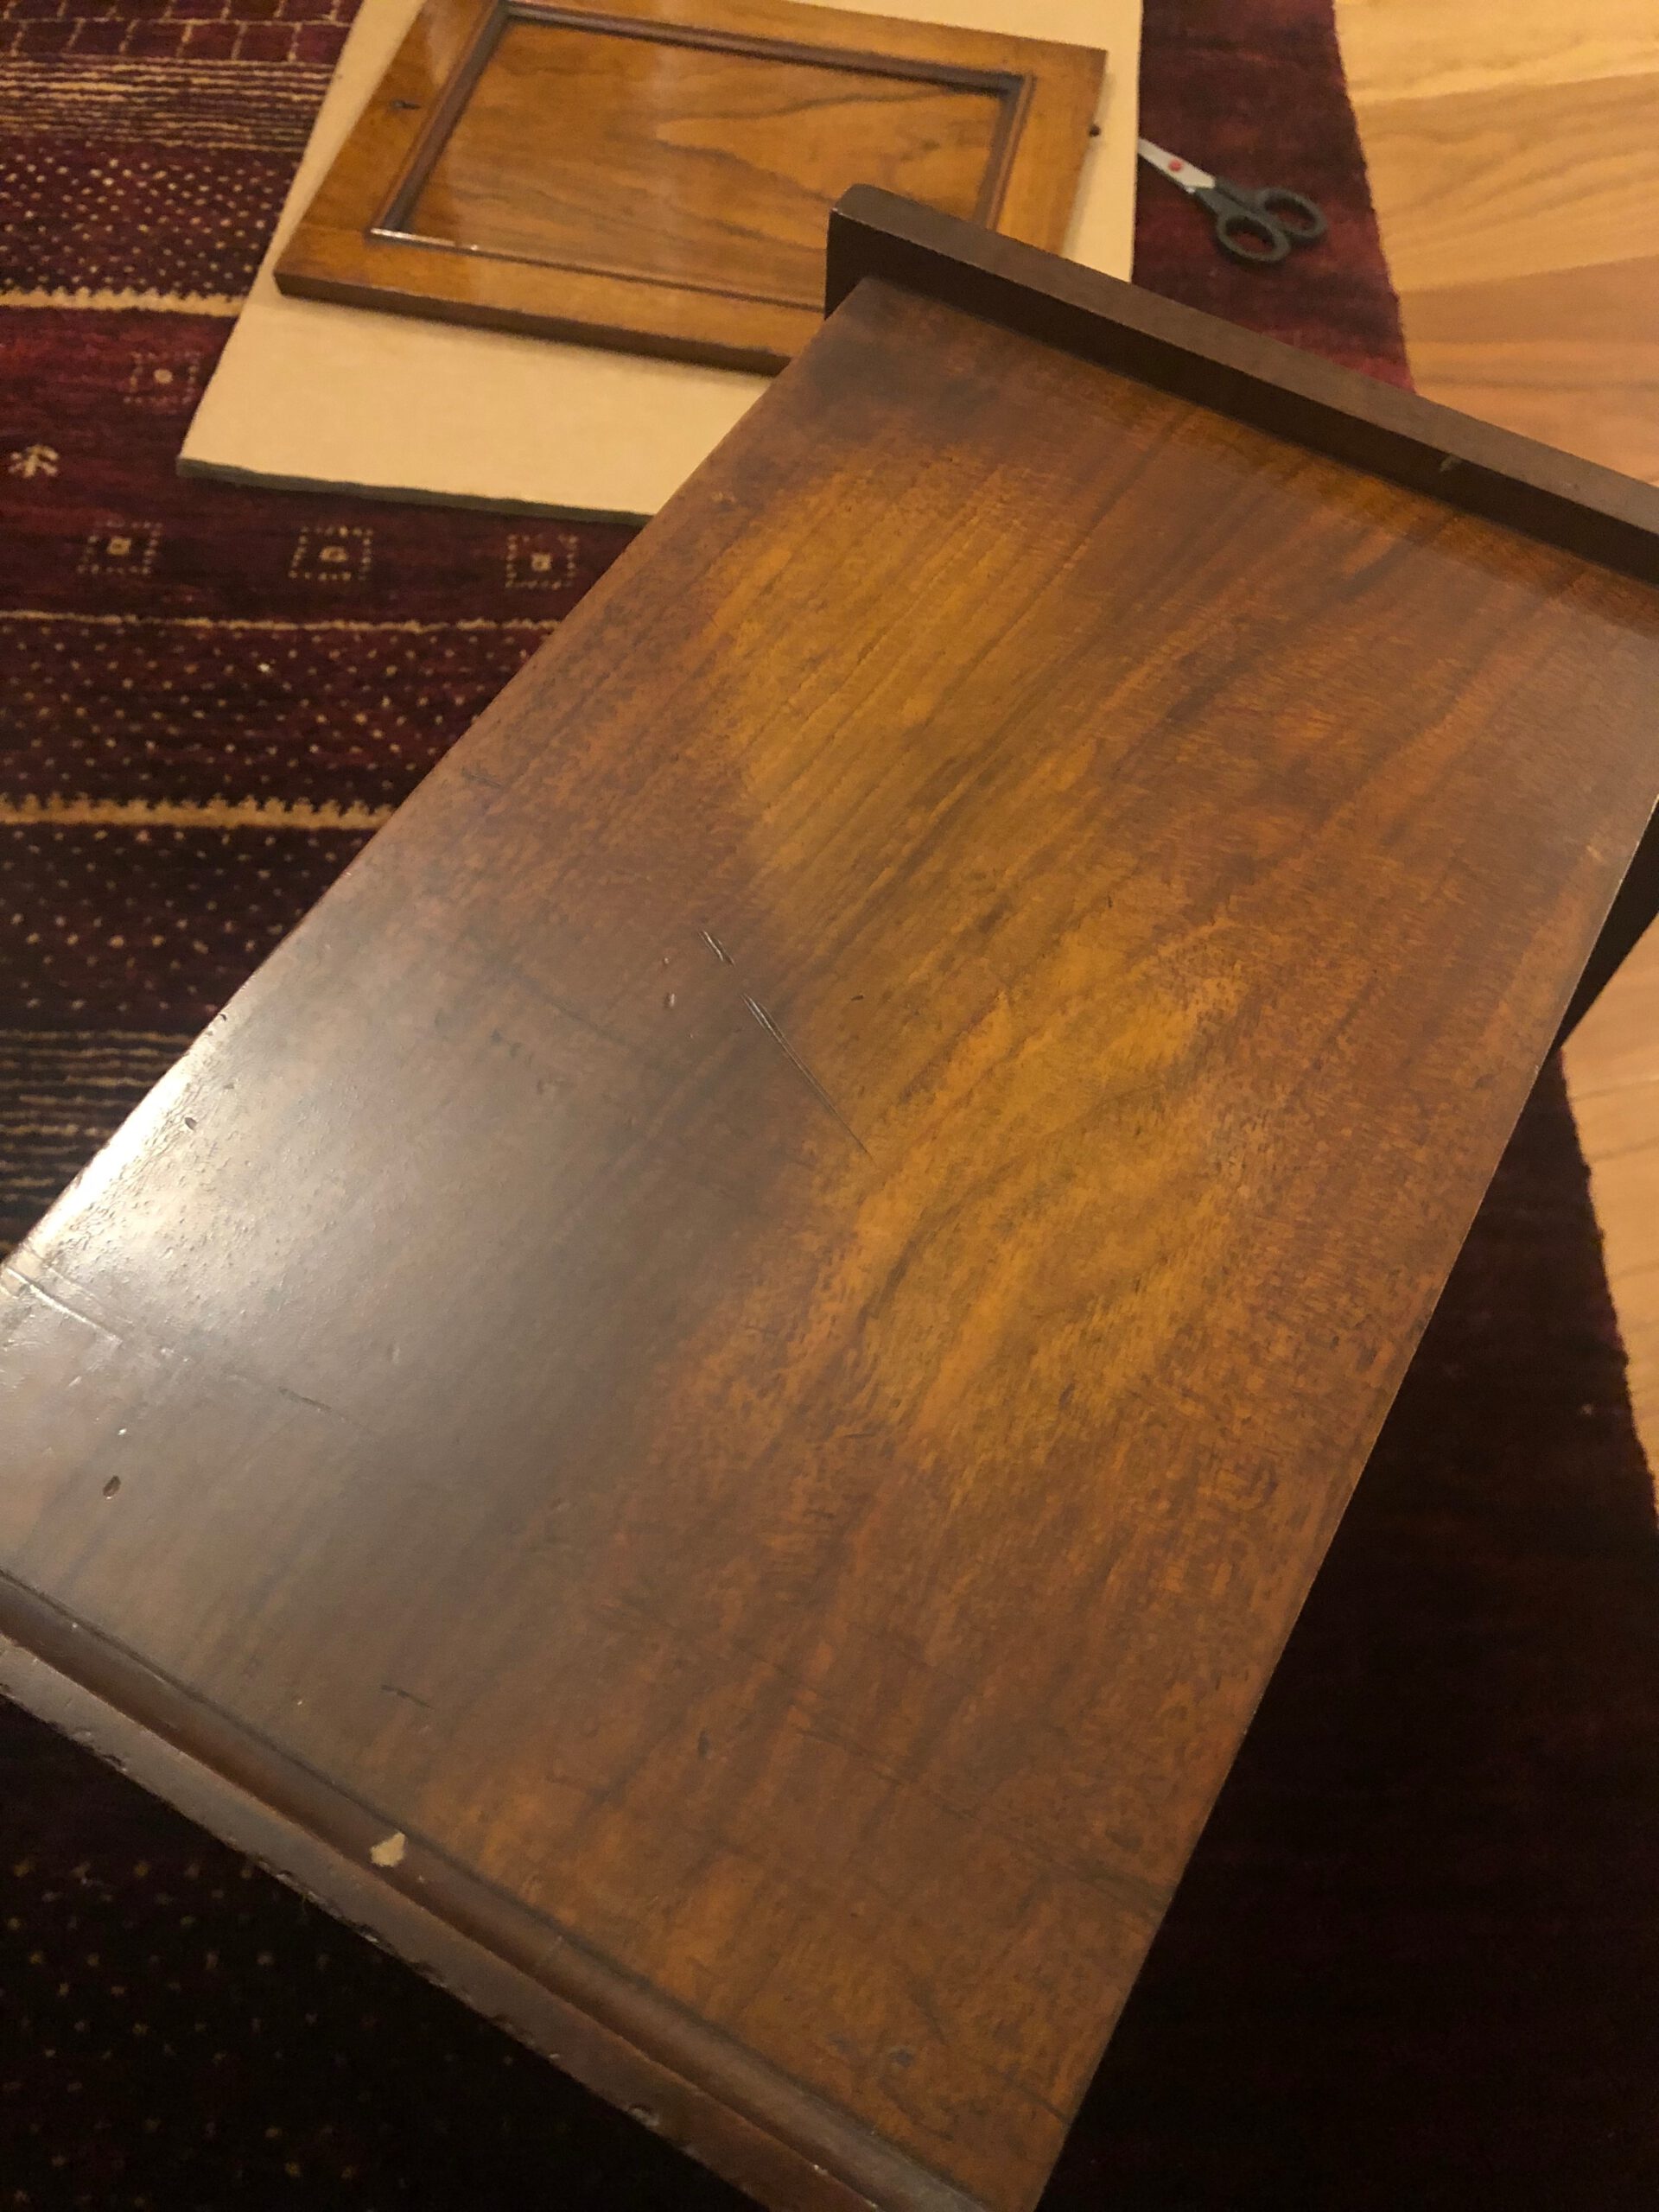
I generally try to change the original surface as little as possible. An exception is waxed wood, as there are water stains under the wax layer and new wax that is applied to the surface combines seamlessly with existing wax residues (in contrast to lacquer).
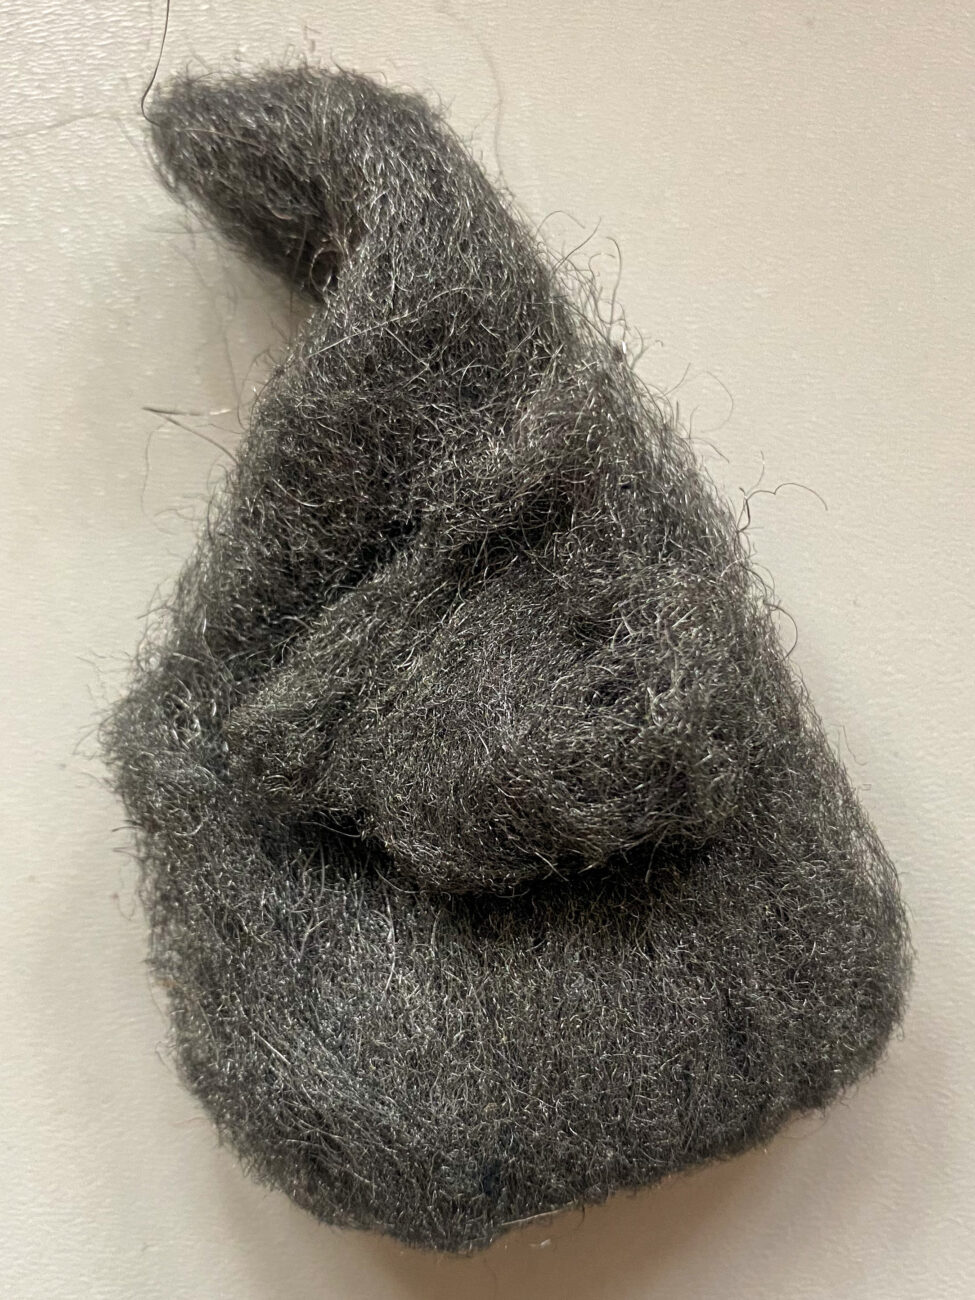
If the dirt is just superficial, I resort to the same method I explained in the previous section. In the case of water stains, heavily bleached wood, or partial loss of the wax layer, I remove the old wax layer or loosen it. To do this, I rub the wood thoroughly with a bale of the finest steel wool (grade 0000), which I regularly soak in cleaning gasoline. This process washes off the old wax and at the same time smooths the surface. The result always looks terrifying. Surfaces appear spotty and extremely clouded, like a badly wiped school blackboard.
Do not try to repeat the process until the wood looks even, as this would mean that you’ve sanded off the entire top layer of the wood. This is neither desired nor necessary, and would only distort the original colour. You can always check how the surface will look later as long as the cleaning gasoline has not evaporated and the wood is still damp.
From here there are several options:
a) Deep scratches, breakouts, or other areas where the original surface has been completely removed and which therefore emerged brightly before removing the wax layer can be re-coloured with wood stain (water-based without any wax components) in the appropriate colour.
b) If the wood in general, or in larger areas, looked very pale and colourless, you can rub the entire wood with linseed oil varnish. Let the varnish take effect briefly, rub off any excess liquid with a cloth and let it dry sufficiently!

c) If, by and large, the wood looked even and had a nice colour before removing the layer of wax, skip both of the above steps and apply a new layer of wax straightaway. Use a colourless wax made for wooden furniture. There are often special products for antiques. Distribute the wax with a piece of cloth. Too much wax won’t harm your surface, but it will cause you to have to polish more. For starters, the surface should feel like your hands after putting on hand cream. Let the wax dry long enough and rub it off briefly and vigorously, creating a satin gloss. Rubbing for too long will heat up the wax, causing you to merely smear it around. If in doubt, let it dry again. Cracks and ridges are easily polished with a brush. If at the end you still see rubbing patterns, you have probably used too little wax, or the wood has soaked up too much of it. In this case, just repeat the process.
Caution: repairs to the wood must be made before oil and wax are applied!

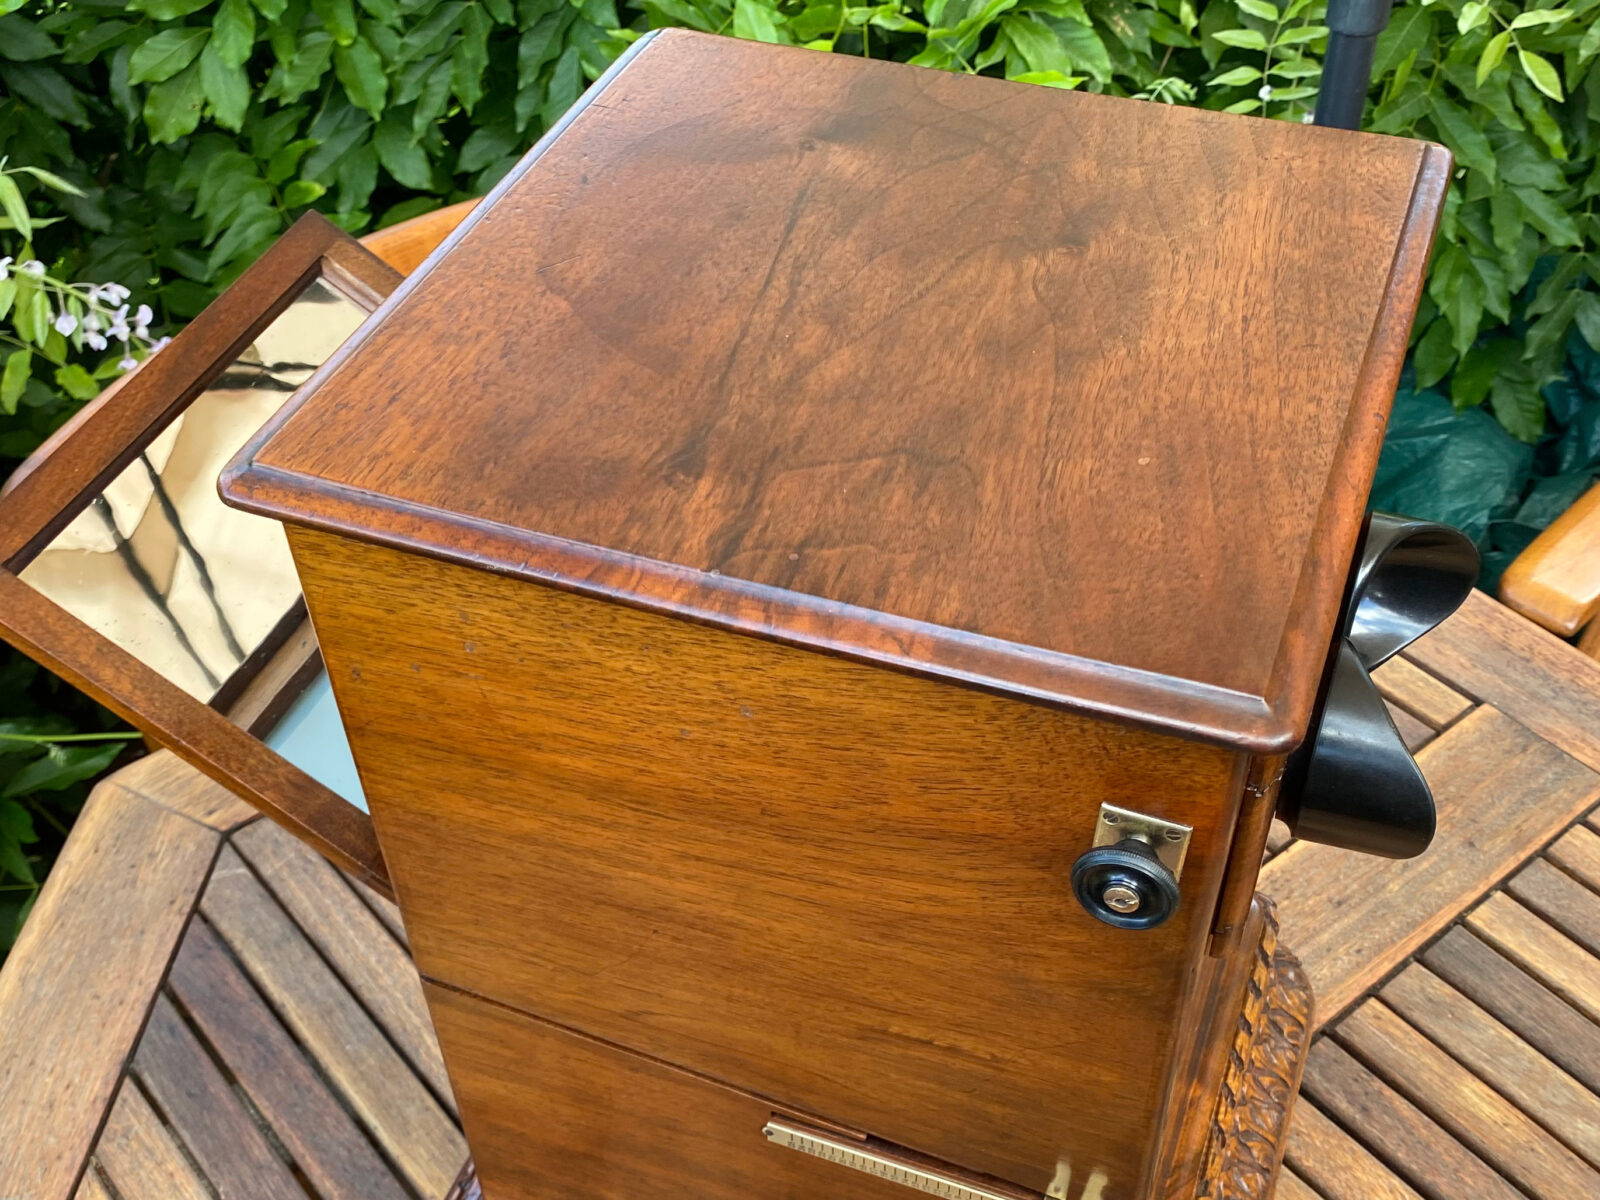
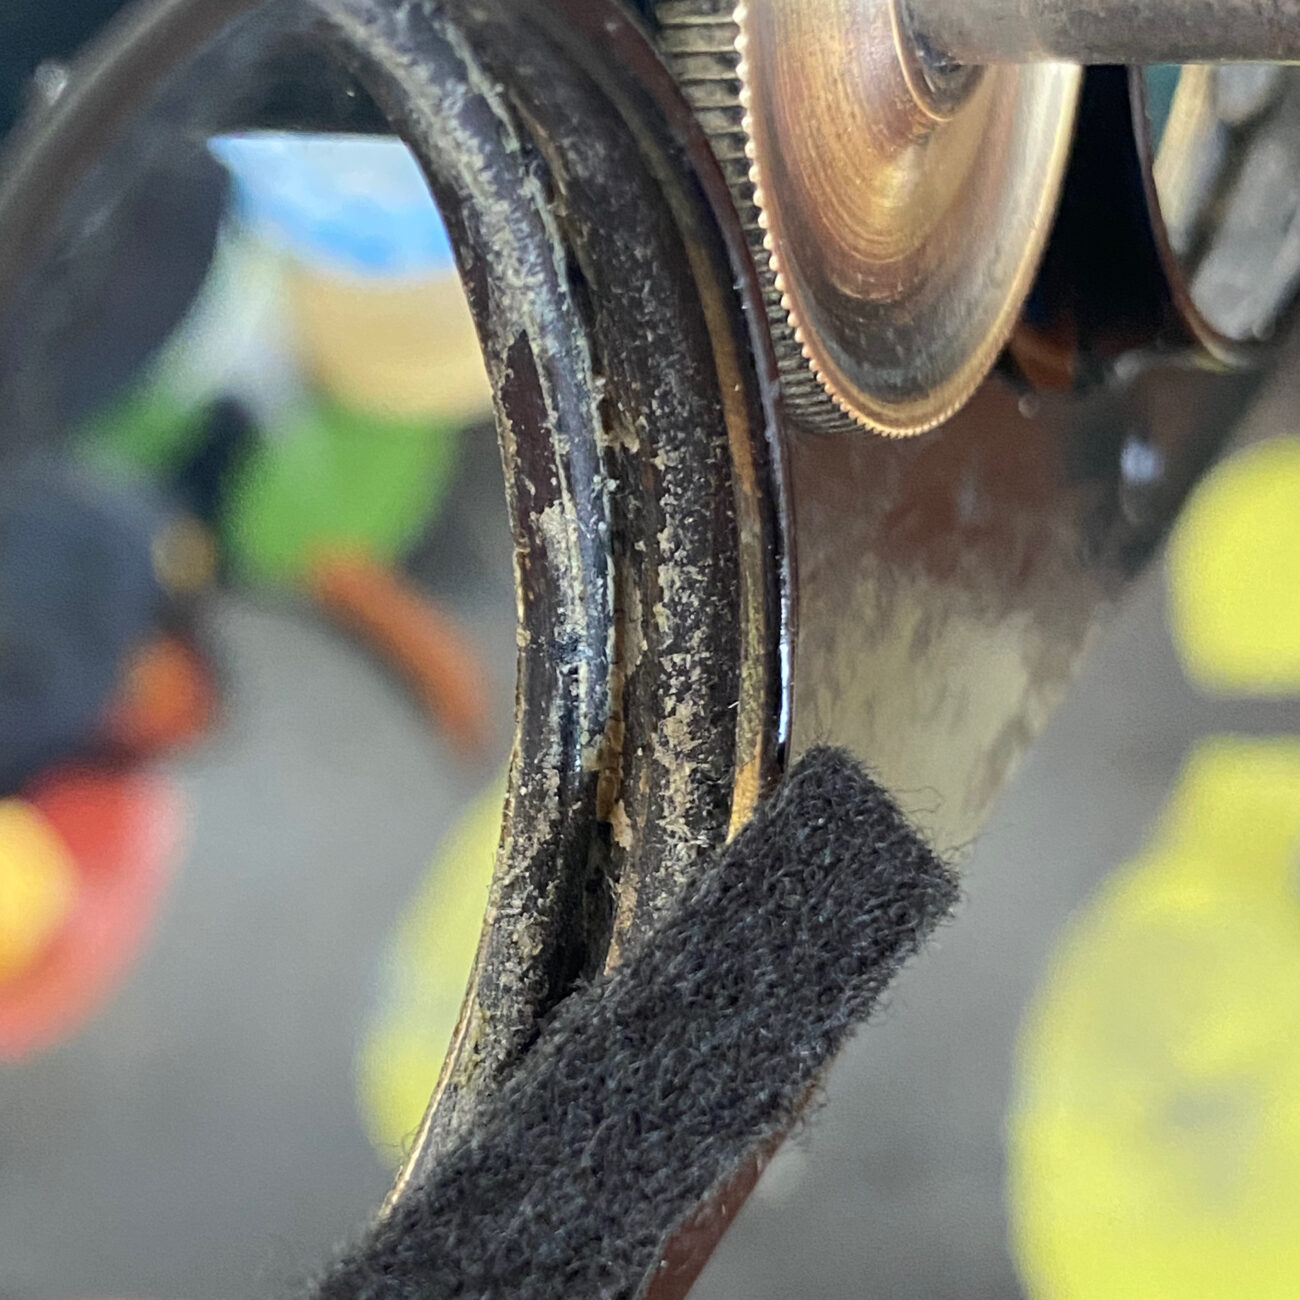
Metal
Cleaning metal parts that have not been painted or tempered is generally very easy, but might require patience and focus. For stereoscopic antiques, you’ll mostly encounter brass, and possibly nickel-plated brass. Rub off any dirt or stains with the finest steel wool (grade 0000) without applying too much pressure. Not all stains can be completely removed, and you always have to consider when to stop. There are limits to cleaning, especially with nickel-plated brass.

Tempered metal can sometimes be cleaned at least a little with penetrating oil and a cloth. But be very careful: even a little too much pressure will cause the colour to come off.
The cleaning of the mechanical work of table stereo viewers is mostly done by simply removing dust, dried-on oil, or graphite. I use a toothbrush on which I put penetrating oil, for example spray-on WD-40. I rub larger areas clean with an oil-soaked cloth. Oil the moving parts, but otherwise rub off all of the oil afterwards. Do not use sandpaper or steel wool. Unfortunately, I speak from experience when I say that these leave permanent traces.

Leather
I use Vaseline or modern coloured shoe polish to care for leather. I make sure not to use any products with grease, as it tends to react with the leather in the long term, making it brittle. Further information can be found within the book restoration community if needed.
Repairing and replacing
In comparison to possible serious damage, everything that has been said so far is relatively manageable. If a stereoscope or stereo camera is not only heavily soiled, but has parts that are broken off, permanently stuck together or have even disappeared completely, you must always decide on a case-by-case basis. Still, there are a few common methods that I would like to address briefly:
Gluing
Bone glue was most frequently used in antiques, and we cannot produce it today without great effort. That is why I myself use modern glue for my restorations. I make sure, however, that it doesn’t contain any solvents, because I don’t know to what extent those solvents might attack the materials.
Usually wood glue takes some time to dry, making it is essential to hold the parts together with clamps. Don’t forget to put wood or cardboard underneath the clamps to avoid scratching the surface. I also use white bookbinding glue for leather or textile. Bookbinding glue retains some elasticity and dries clear.

White glue that spills out from cracks when gluing things can be easily scraped off with a fingernail once it has hardened a bit. Any leftovers can then be wiped off with a damp paper towel.
Superglue is useful for broken Bakelite parts and two-part resin epoxy is suitable for metal parts that are subject to stress.
Bending
Bent metal parts are very common. Mostly they are not cast metal parts, but rather wires, stamped sheet metal or the like. If you are careful and think carefully about where to start, most parts can easily be bent back into shape. I mostly use flat-nose pliers for this. Don’t forget to put a piece of fabric between the pliers and the metal part! I usually only use only one pair of pliers while I hold the part with my bare hand. I like to think that that gives me a better sense of how much strain the metal is under when bending.
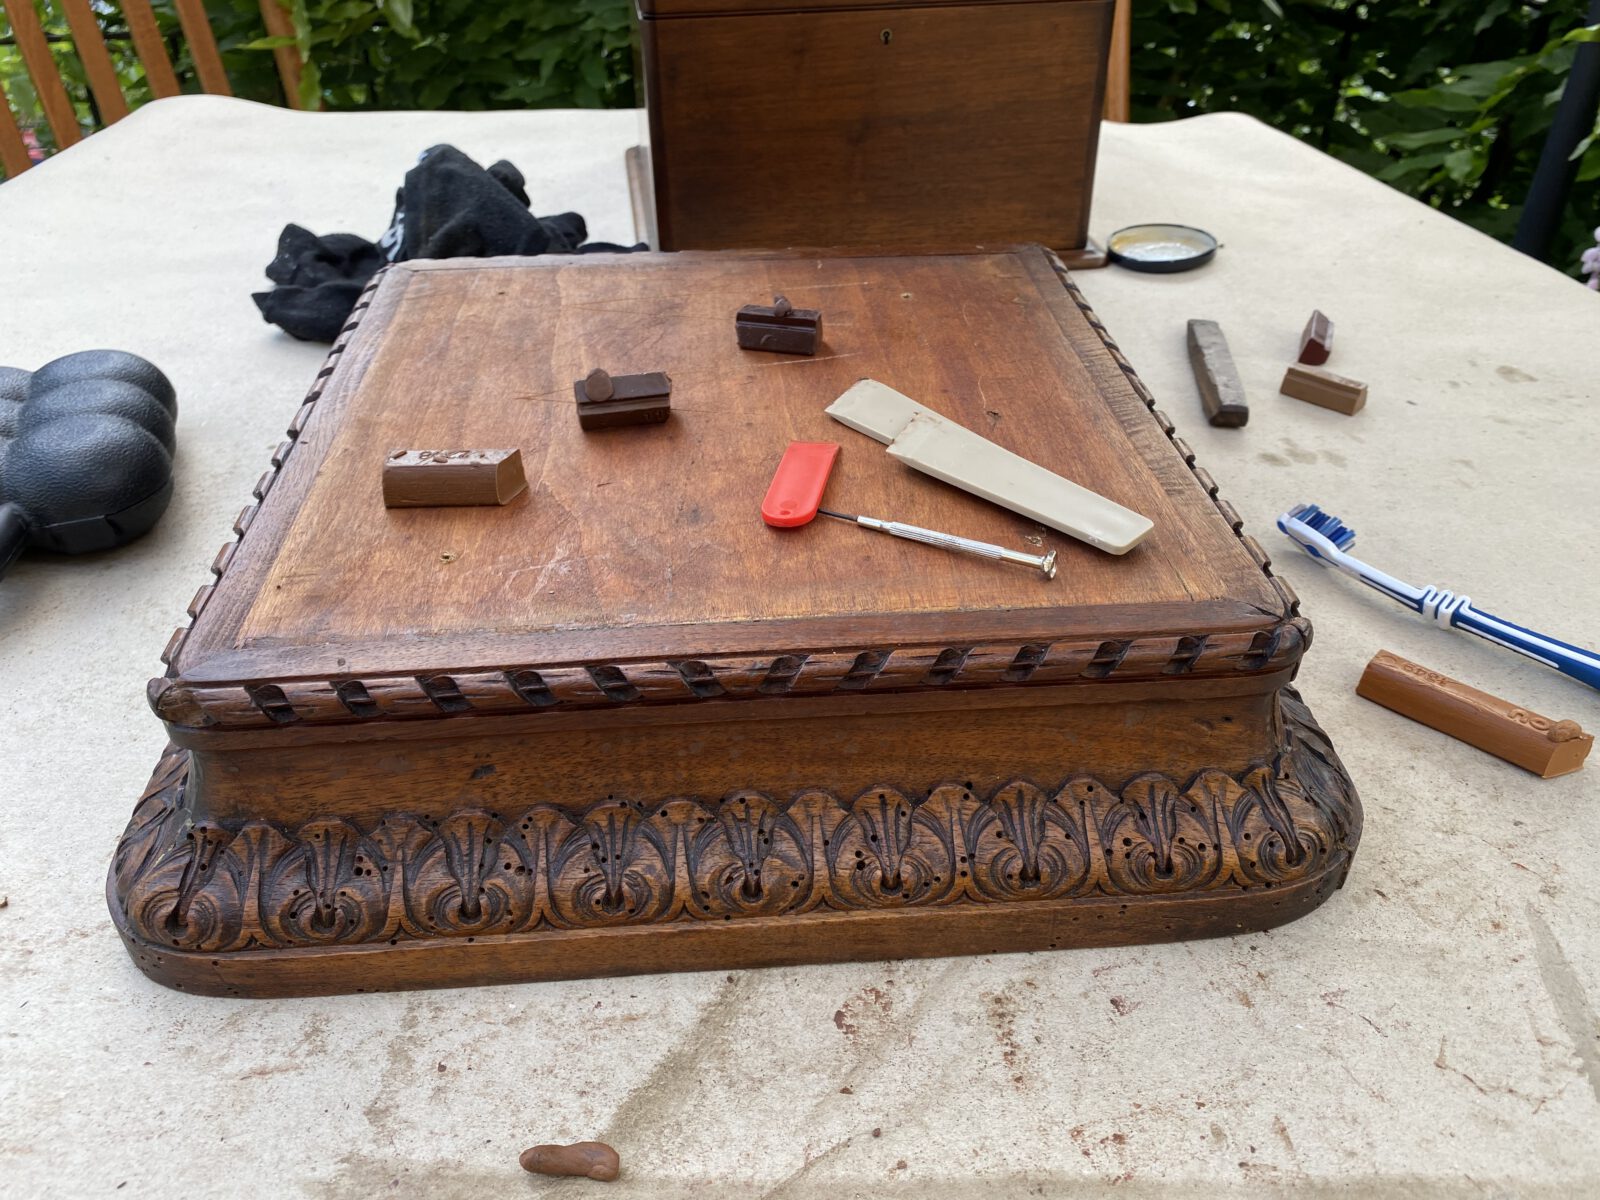
Coloured Wax Putty
It is not uncommon for antiques to be infested with household pests, e.g. woodworm. After dismantling, it makes sense to treat the infested parts either with a pesticide, or put in the oven. The tell-tale holes in the wood can usually be hidden well with coloured wax. Coloured wax is also good for filling in small cracks or imperfections, both in wood and in Bakelite.

Felt
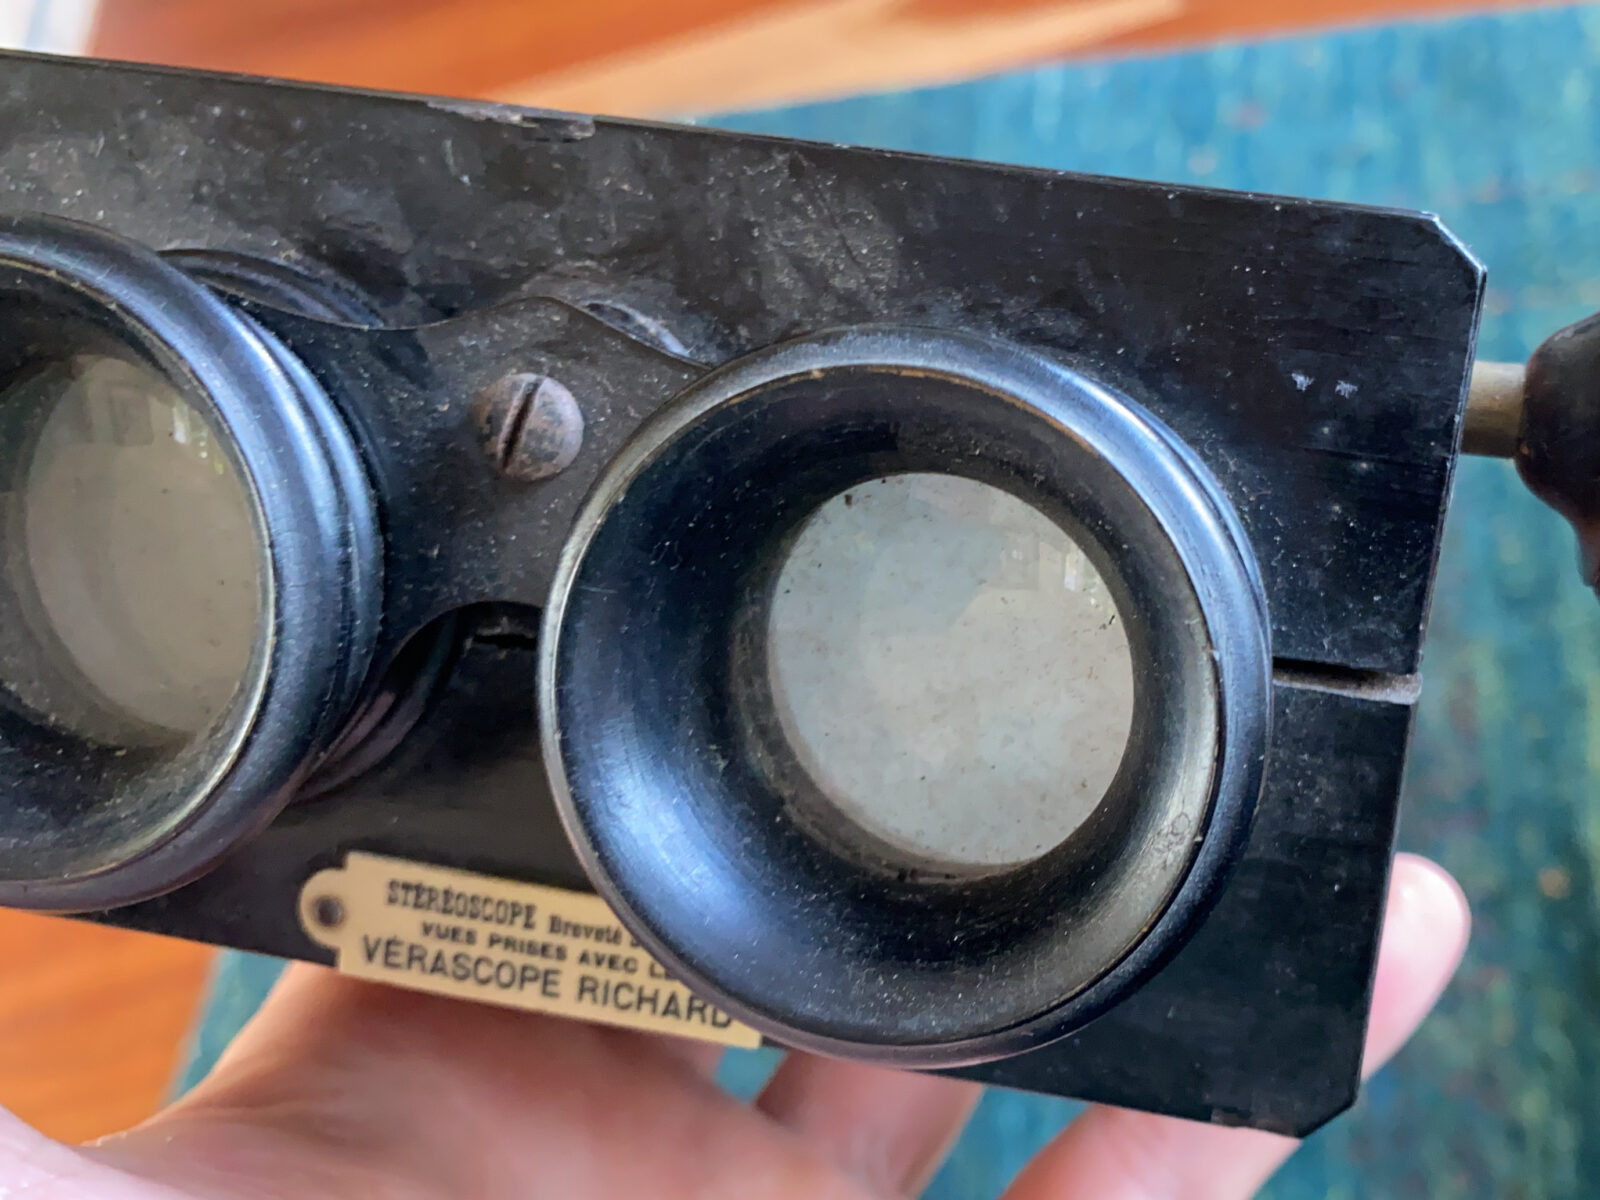
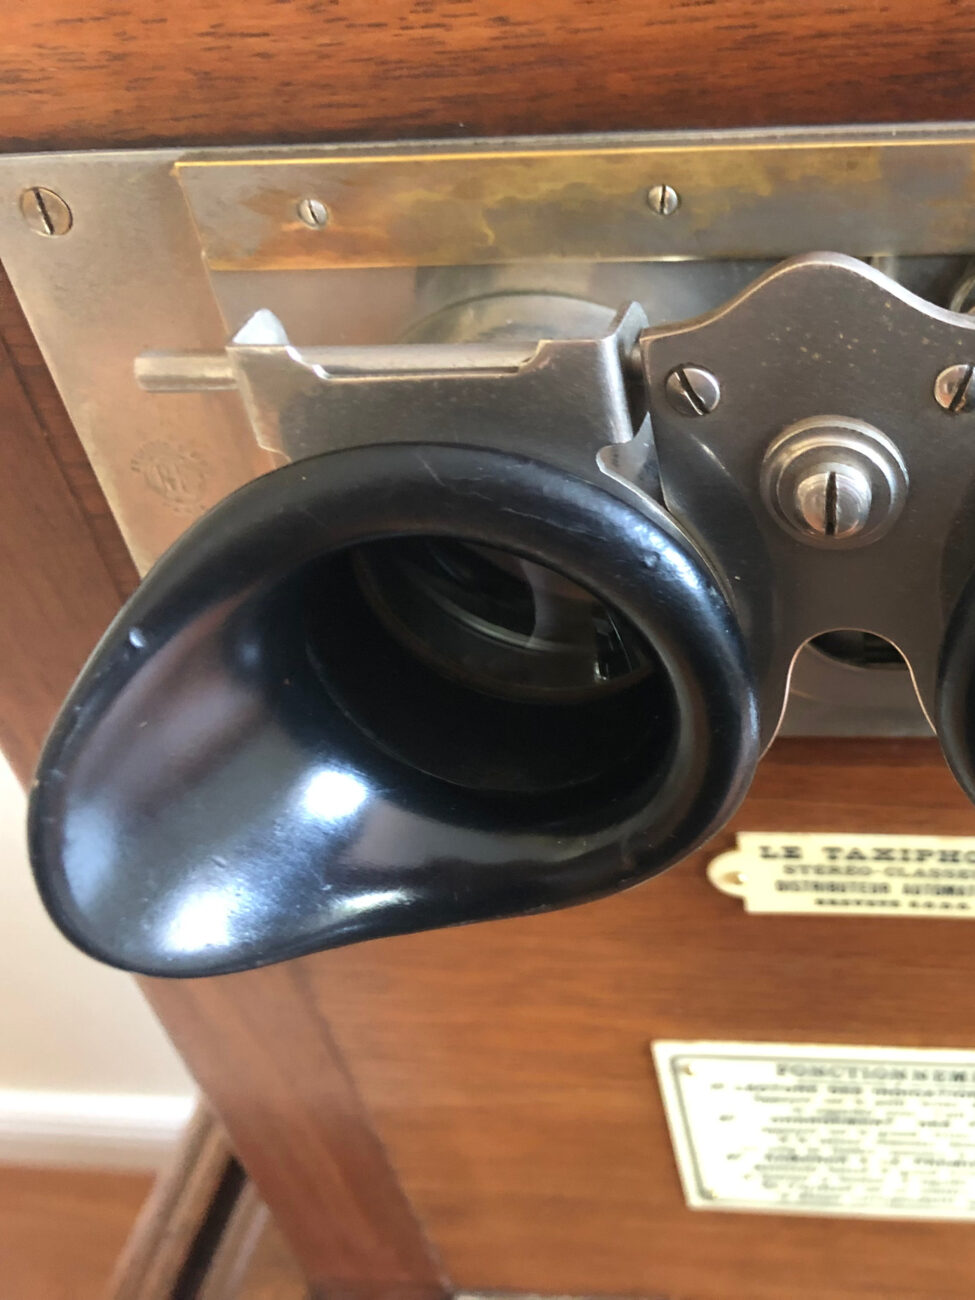
Even after a number of restored stereoscopes, you can still discover new things! Many stereoscopes have two metal rings in their wooden casings, through which the tubes of the eyepieces move when we adjust the focus. Felt or velvet was always used inside these rings. However, one can often no longer find the slightest trace of it. If you look closely, you might at least see the glue residue. I definitely recommend putting a thin layer of felt back on. This prevents the metal tubes from being scratched and, above all, stabilizes the guide when setting the focus, which often remains a bit wobbly without felt.
Spare Parts
Although I said at the outset that restoration is sometimes the last chance to save an antique from destruction, there are also those that are too damaged to save. Keep an eye out for these objects. Sometimes they can serve as a source of replacement parts. In particular, the eyepiece frames and Bakelite parts were made by large manufacturers, and are the same for most stereoscopes. The same thing is true for screws. Even if you ever need to replace a piece of wood, it is certainly preferable to use a vintage piece of wood that might allow you to keep the original shellac surface.
Conclusion
I would like to return to my guiding question: “What would this stereoscope look like today?” Restoring always brings me closer to a possible answer even though this remains always just an approximation. Another picture that I used in my article was to reverse a process of decay. This means, restoration is always like a journey into the past and even if you restore regularly, you will never know where it leads you. Another aspect is becoming kind of intimately familiar with the object you are working on, examining it closely, deciding wether to do a step of restoration or not and still being excited. Turning an old and forgotten stereoscope into a truly personal object is invaluable. It’s more than just finding it. In some way it’s also recreating it and literally becoming involved in its history.
Pascal Martiné (Mainz, Germany)
Passionate about stereoscopy as a collector and photographer since 2016. Admin of the stereosite. More on About me.